Moodle Makeover - Part 1
First some background. We use Moodle as our LMS, but we use it to manage the product training content we sell to our clients. It is therefore very important that the clients get the best impression from the start, so here’s what we did.
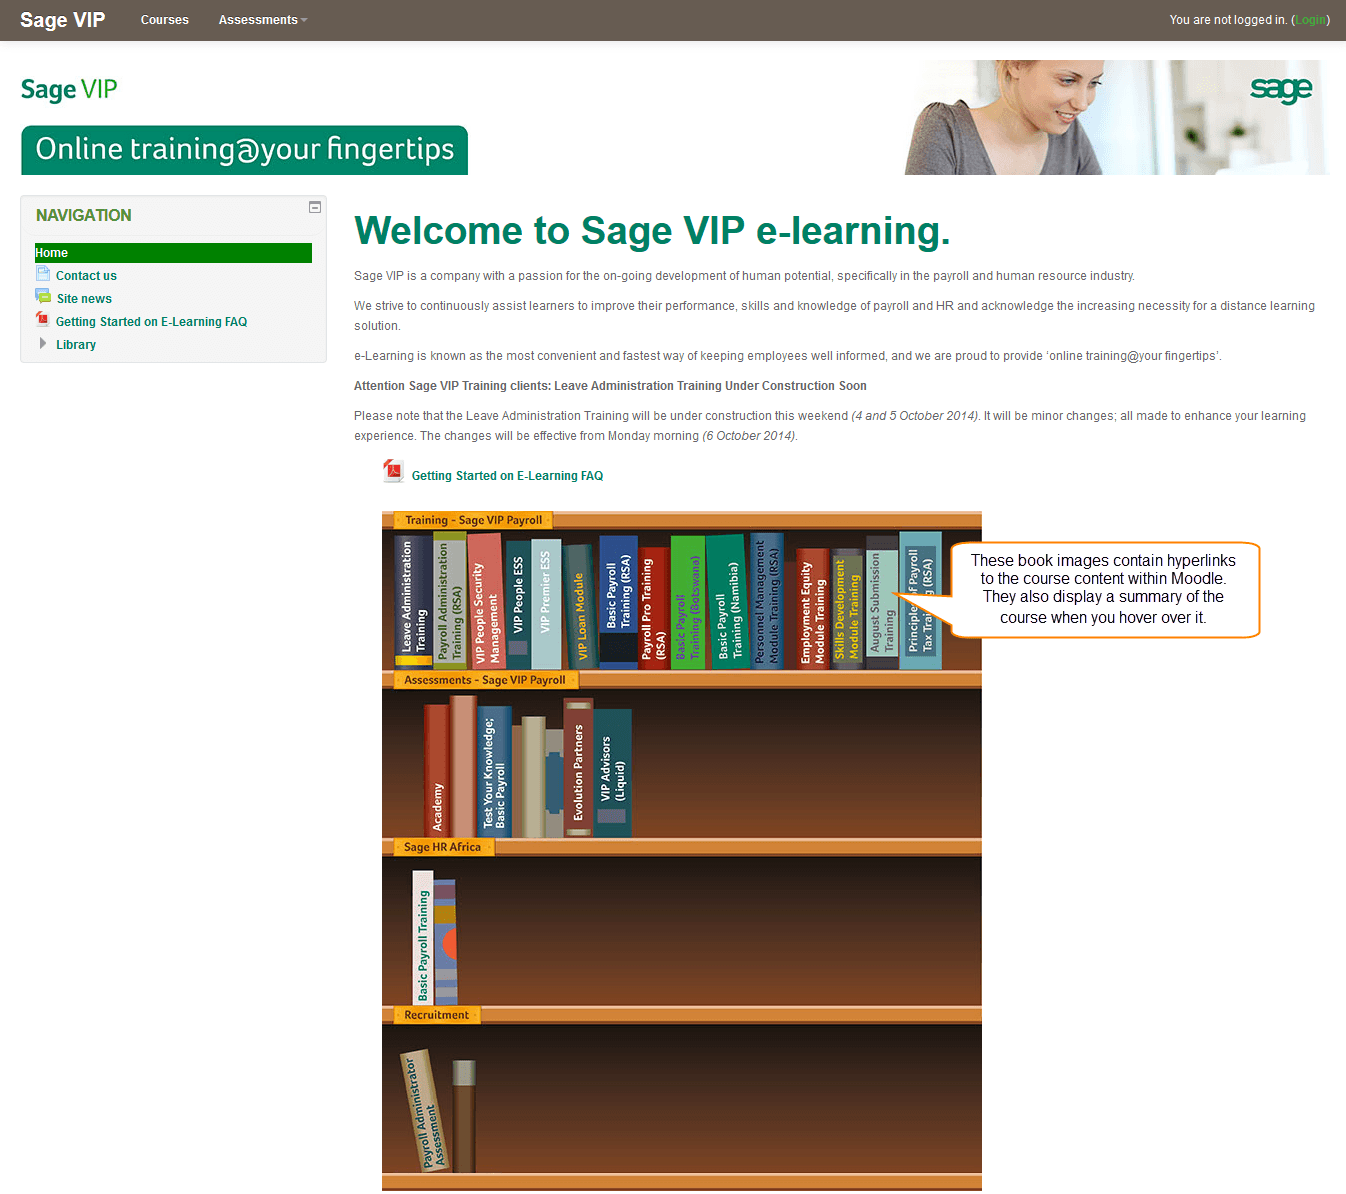
1. With the help of our Moodle administrators, we changed the traditional worded library to an interactive menu, in the form of a bookstand, that echo’s the e-Learning experience from their first interaction with the system.
I also hid any unnecessary navigation blocks.
The traditional Moodle library and front page before the makeover:

The Moodle library and front page after the makeover:
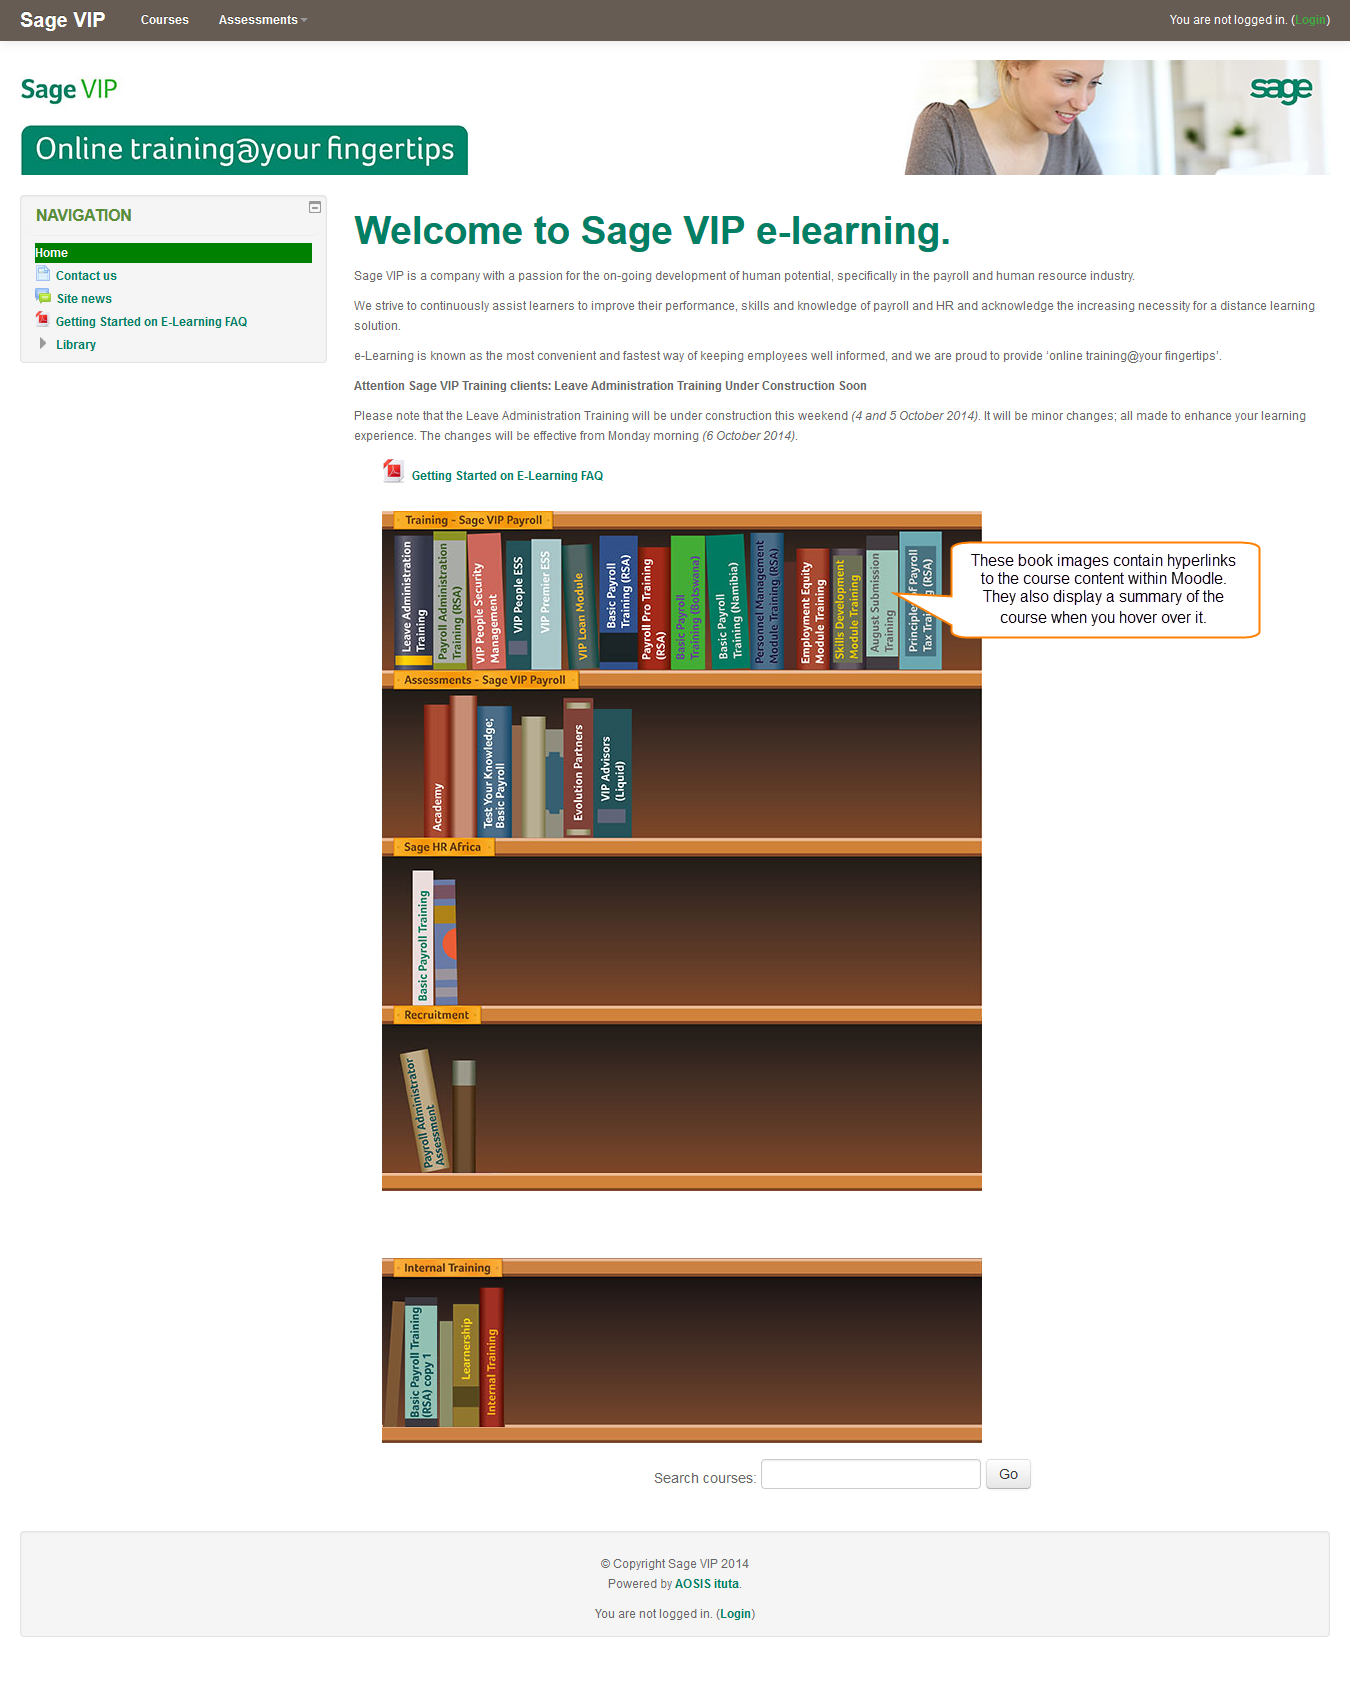
As I said earlier, our Moodle administrators assisted with adding the bookstand images (we provided the images) as well as the hyperlinks, but I made those blocks disappear.
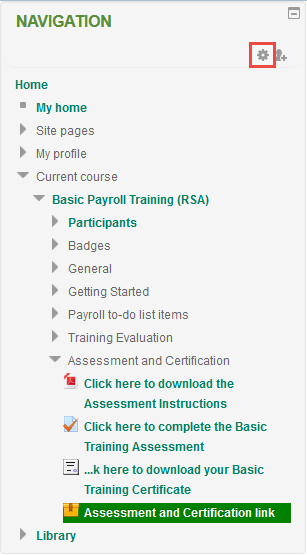
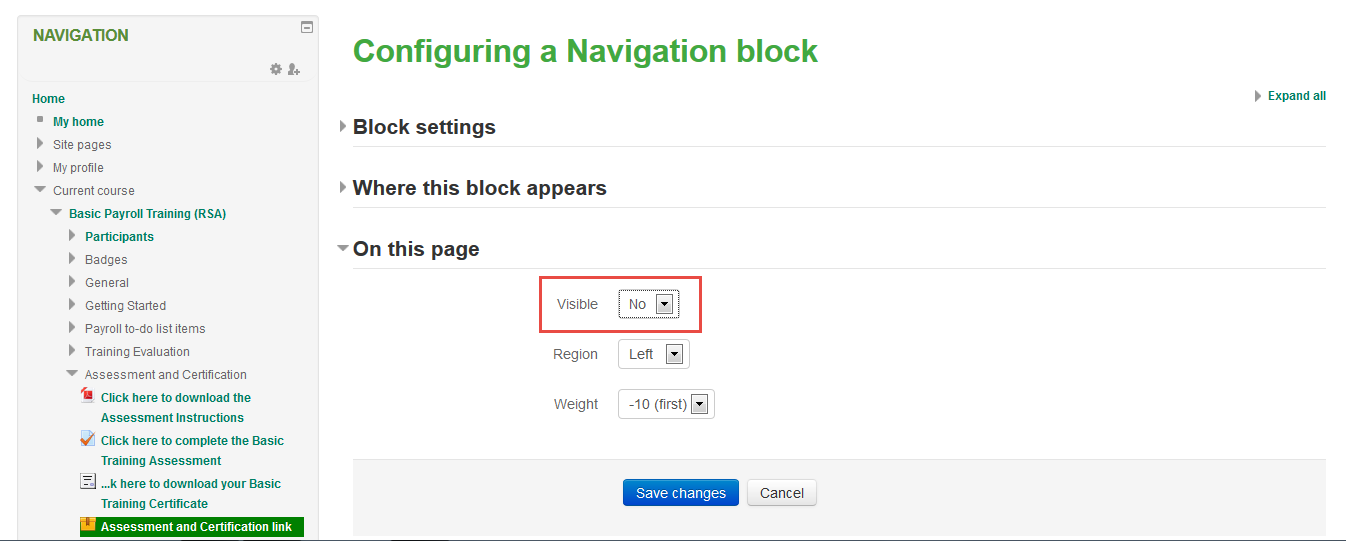
Here’s how:
- Click on the Gear symbol of the applicable block to access the settings:
- Change the ‘On this page’ visibility setting to No and click on Save changes:
The result is a less confusing and clean front page, which creates a favorable impression from the start.
2. The other thing that bugged us, was the navigation experience and display of the course components. We make use of Articulate Storyline, so I will explain it with a Storyline angle, but I’m sure this can be possible with other authoring tools as well.
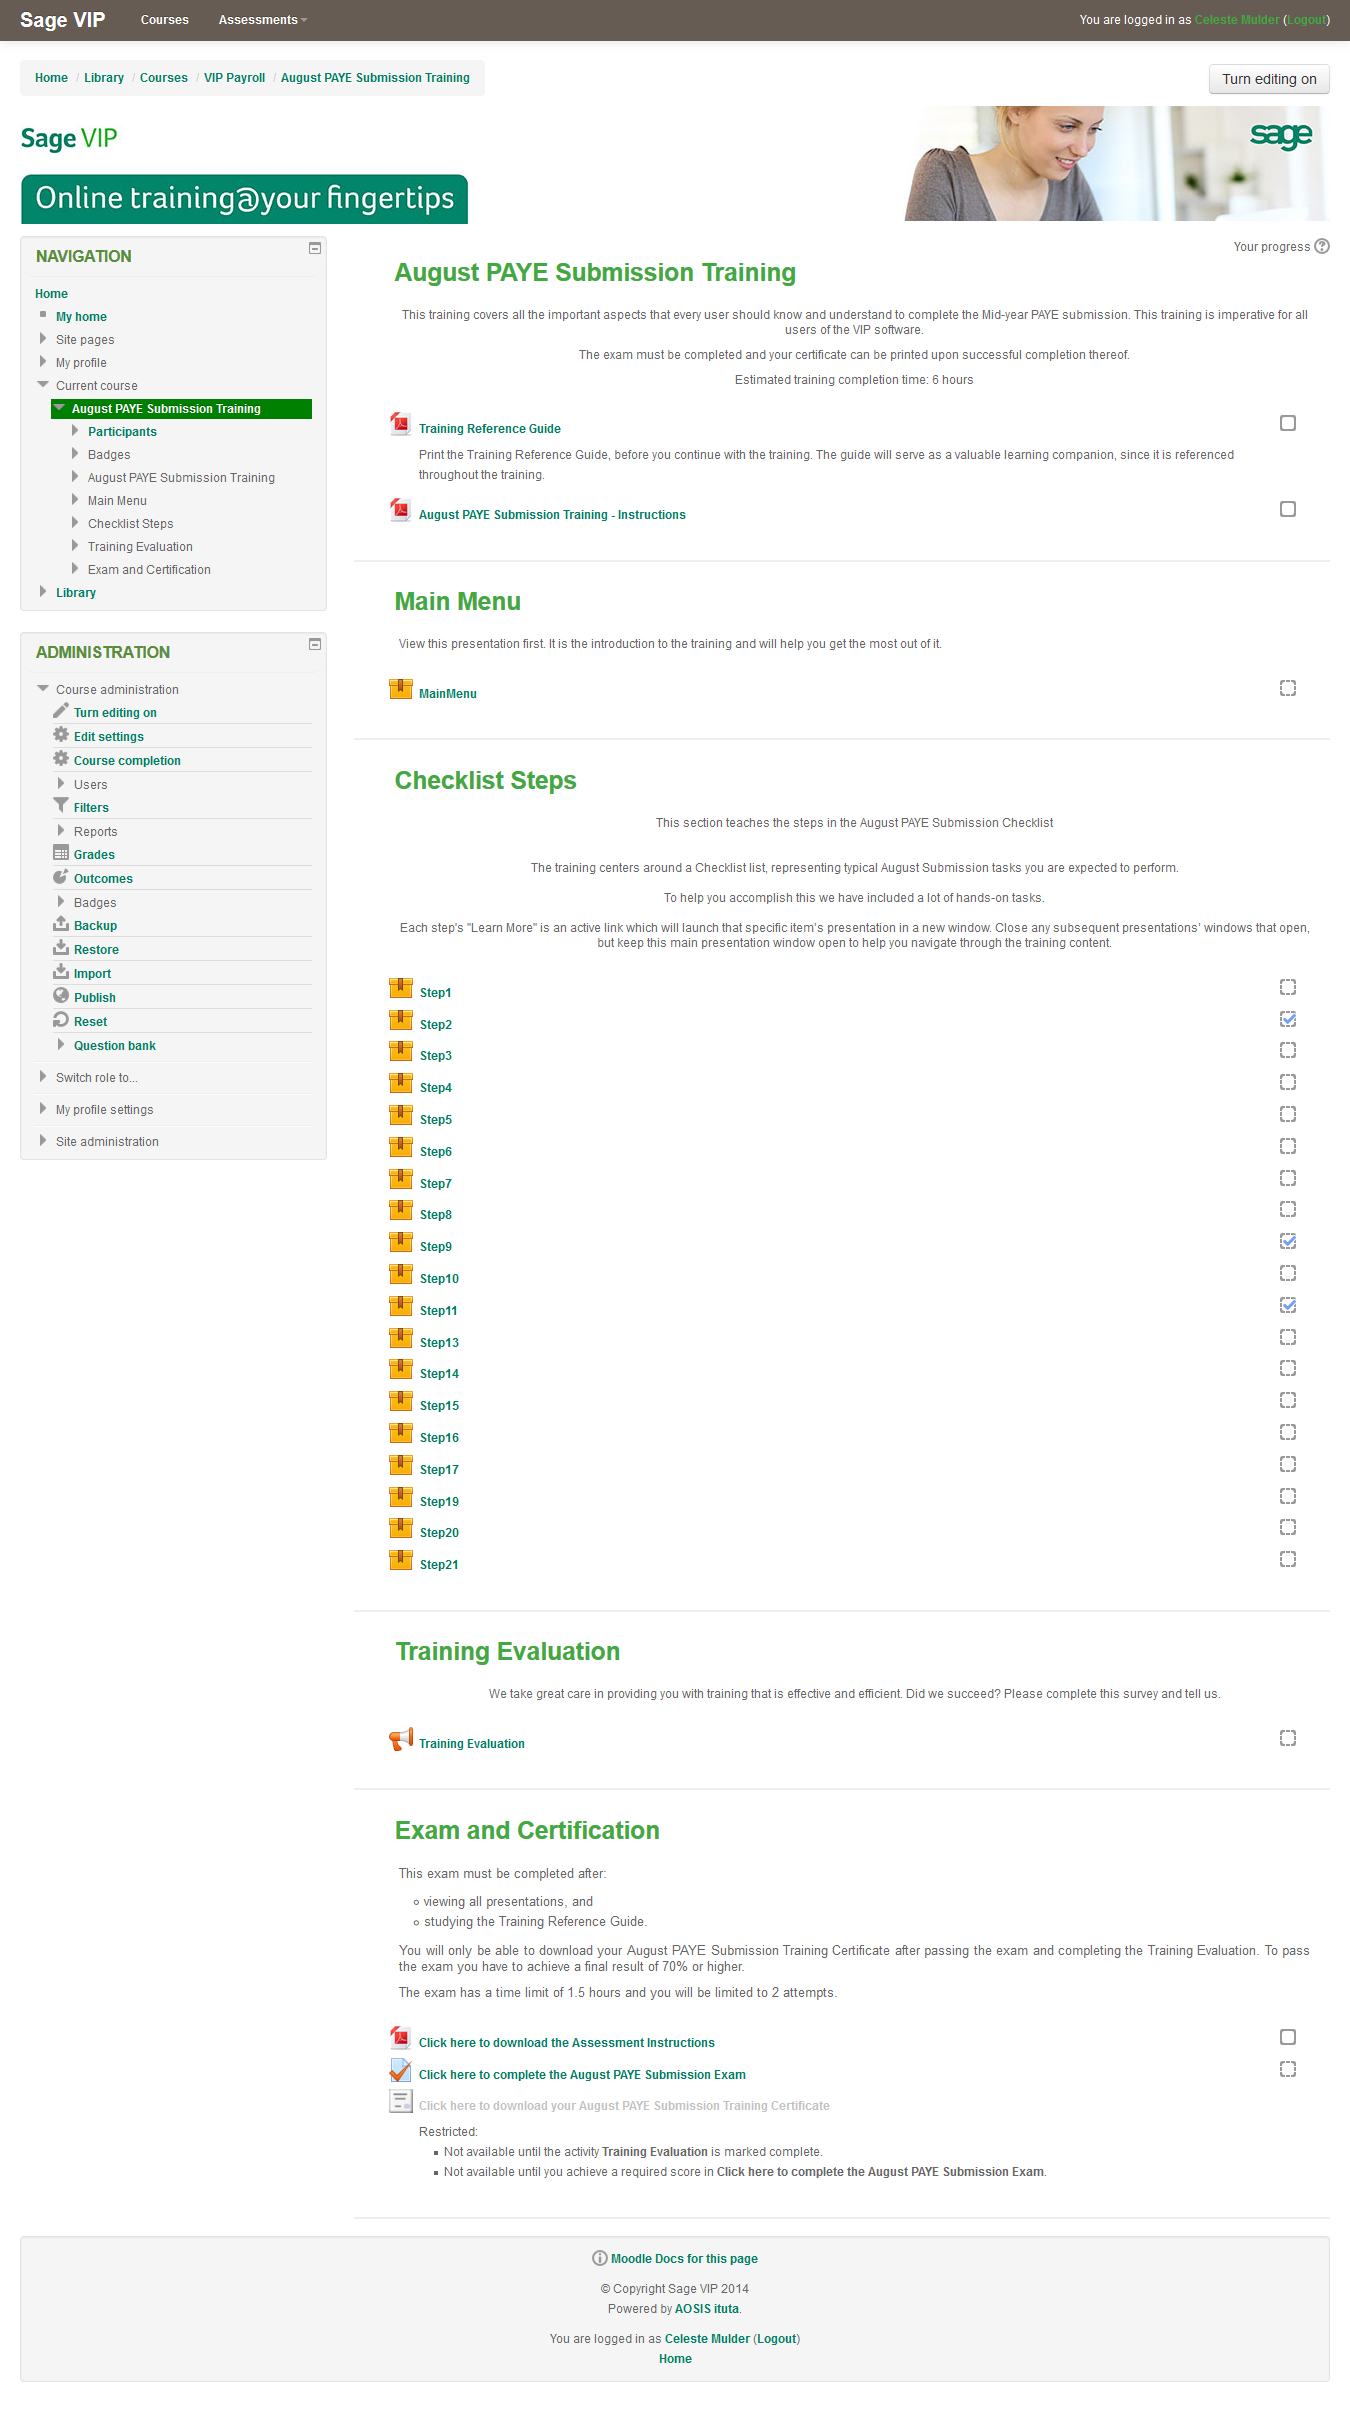
Initially what the clients would see after they clicked on a book, was the display we are all used to, with headings and links. Way too boring in my books (pun intended).
Course content display before the makeover (yawn):
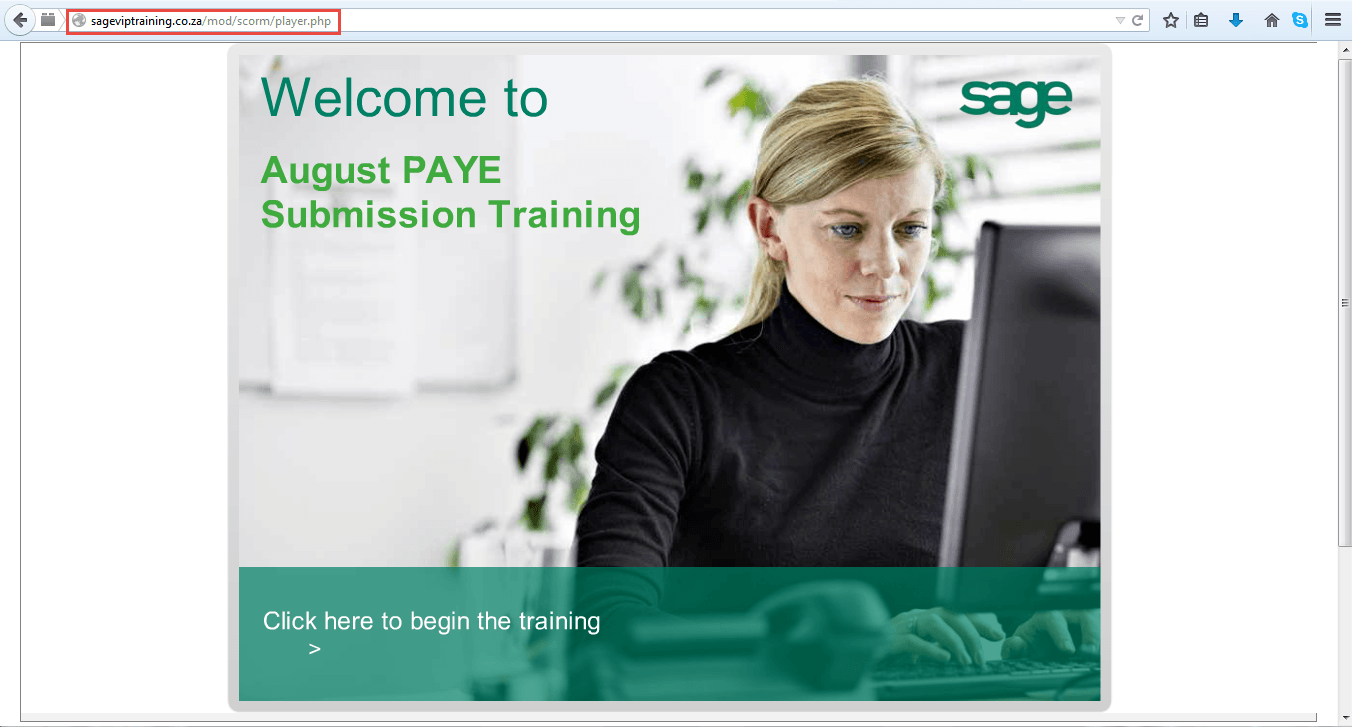
What happens after you click on a book now, after the makeover (do I have your attention?):

What we did to make this happen is very simple and quite obvious, once you think about it, and puts the navigation design power in your hands - how awesome is that?!
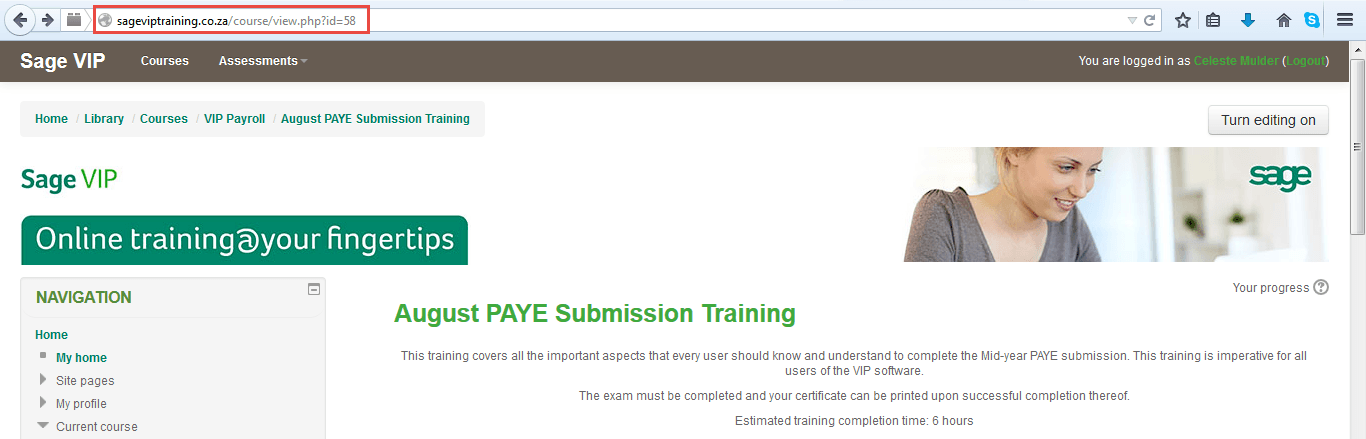
- Initially the book hyperlinked to the specific course’s page in Moodle:
- But then we thought of creating a Main Menu presentation, which contains all the navigation to the other presentations, therefore skilfully bypassing the less pleasing to the eye Moodle navigation.
The book now hyperlinks to the Main Menu presentation’s link. So you will still add your activity as usual, but the book will then hyperlink to an activity’s link, and not the course’s page in Moodle:
To get the activity’s link, right-click on the activity and select the applicable option:

The navigation sky is then only limited to your inner daredevil.
How we solved the multiple-presentations-launching-from-one-main-presentation challenge within an LMS is a whole other story, but don’t worry, it has a very happy (client) ending. I will stick to one of the vital instructional design principles, content chunking, and save that for my next article.
I hope this article will inspire some less by the book thinking, and serve as affirmation that in most cases, where there is a wacky will, there is a very exciting way.
Was this helpful and e-nspiring? Please comment and tell me!
You are more than welcome to check my new article, you can read it here: Giving Moodle a Makeover Part 2.
