
Best Practices For Developing Effective eLearning Storyboards
Storyboards are defined as blueprints of the eLearning product to help the client envision what the final product will look like. The word envision leaves a lot to the imagination. The best approach is to develop a very accurate mock-up of what the final product will look like. Leave as little to the imagination as possible and have the client sign off on the design before going into development. It is much easier to make changes to a storyboard than it is to alter the development document. Here are some tips to ensure that your eLearning storyboards leave little to the imagination.
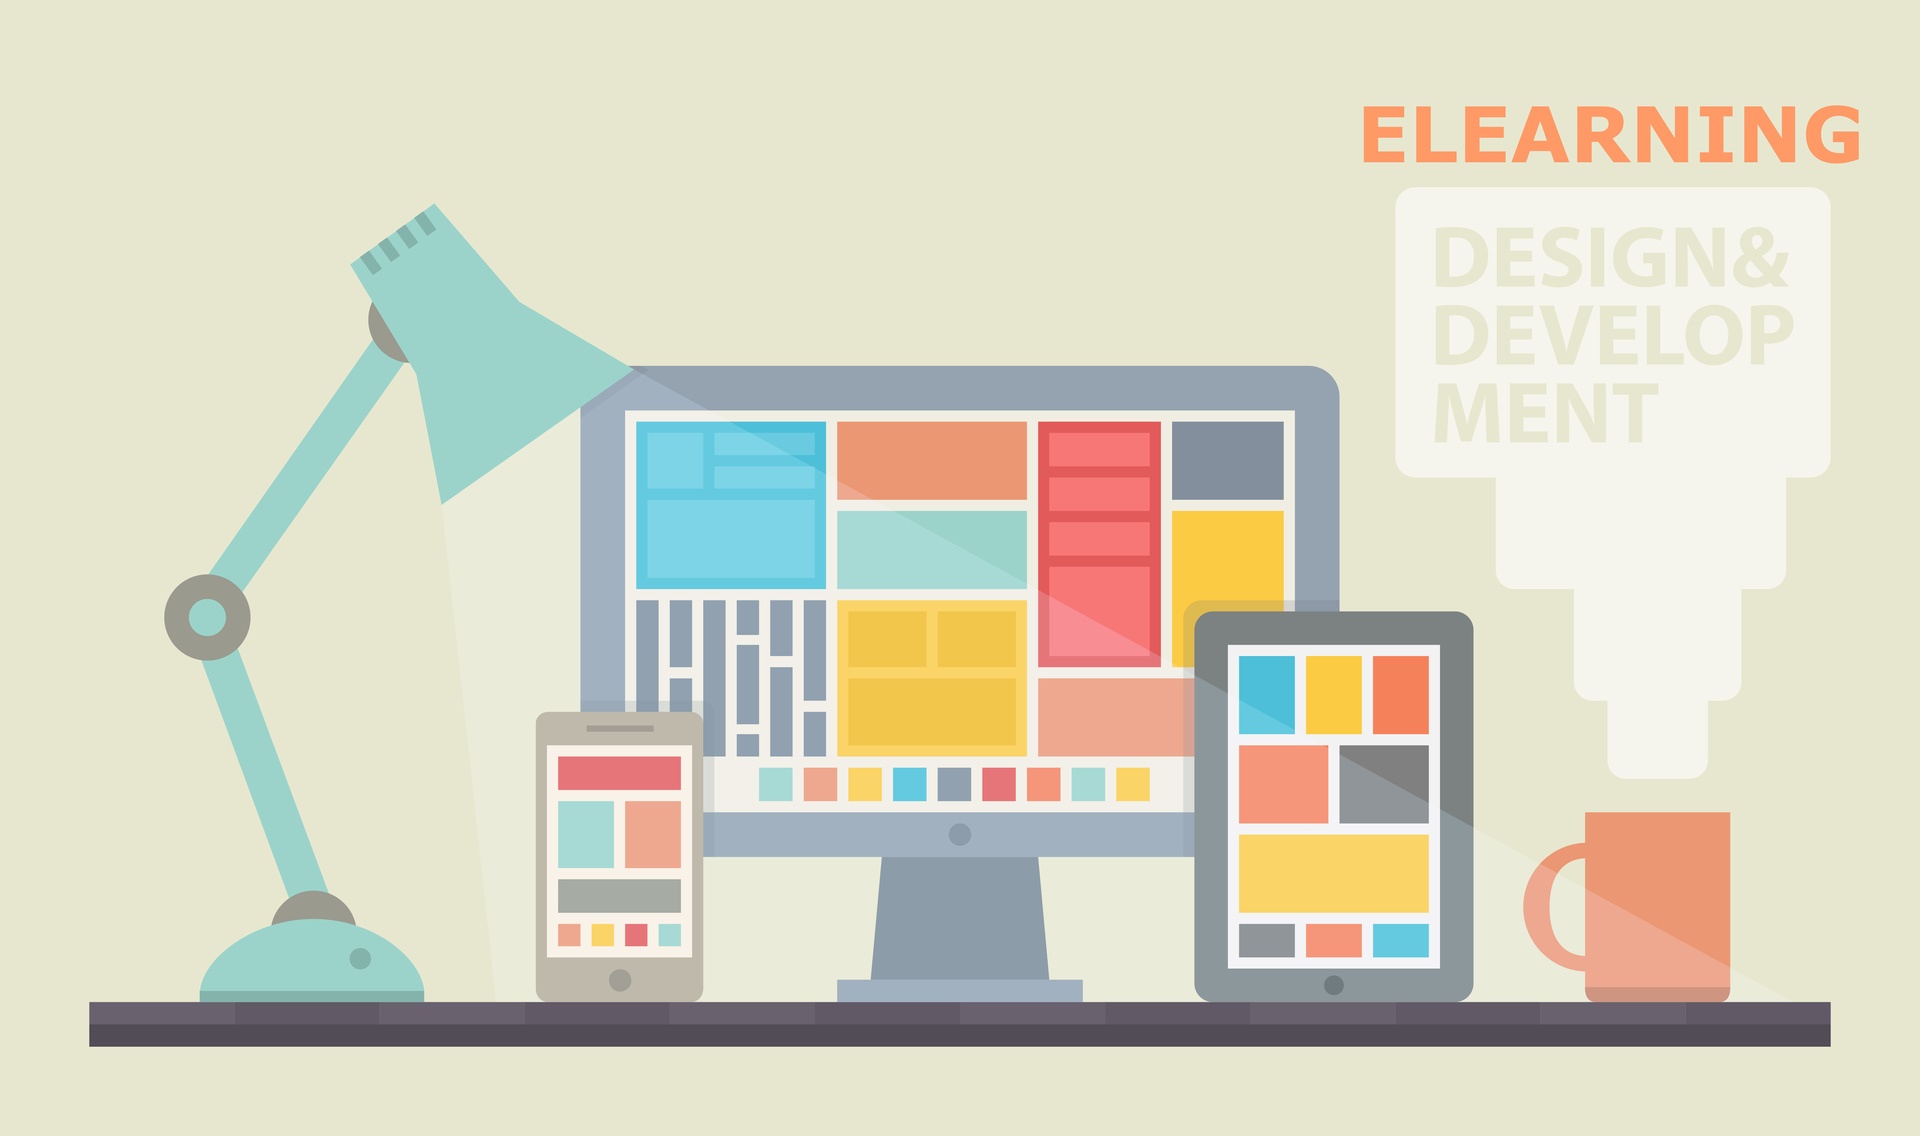
User Interface Design
The first step in developing the storyboard is to develop the User Interface (UI) in detail. The UI is the backbone of an eLearning product. UI is the form, function, and aesthetic that guides every slide within the course. The UI design should demonstrate each of the following elements.
- Color Palette
The color palette should be simple and consistent. Four to five colors are usually all that are needed. Give consideration to contrast in foreground, background, and highlights within the design. - Text
Decisions of text color, font, and size are determined. Create a style guide that includes titles, paragraphs, bullet points, hypertext, and citations. Remember to provide adequate contrast between textual information and its surroundings. - Layout
The layout determines the overall look of the course. Use shapes to develop a composition that engages the viewer and directs their attention to the most important part of the screen. A layout template should be designed for a text-only slide, an image only slide, a text and image slide, a video slide, a text, and video slide. Peruse the course content for other special items such as tables, charts, etc. and create a layout template for each. Use a shape as a placeholder for images, graphics, video, etc. - Navigation And Buttons
Buttons and navigation are part of the layout design. Place buttons, sliders, navigation bars, etc. conspicuously within the layout. Keep the colors within the palette but ensure that the navigation stands out from all other elements on the page. - Logos
If the client wants a logo included, ensure that your color palette works with the logo. Find a space within the layout where it is visible but does not interfere with the content or navigation.
When the UI design is complete, work with the client to get approval before moving on with the storyboard. When the UI is approved, load it into the master slides of your authoring tool. If a change is required in the UI design, it can be fixed in the master slide in turn fixing all of the other slides at the same time.
Every Slide
Yes, create a mock-up of every slide and number them. If a slide has several layers, create a mock-up of each layer and add a letter to the number i.e. 1A, 1B, 1C. Open the UI for the slide, add all of the textual information and include the following.
- Graphics/Images
If the client gives you the actual image, place it on the slide. If the image has not yet been selected, use the UI template for a graphic slide with a placeholder that you created earlier. - Video
It is not necessary to load the video into the storyboard. Take a screenshot of a colorful frame within the video and place it in the placeholder of the UI video template that you created earlier. - Notes
At the bottom of each storyboard slide, create an area for notes. Include an area for graphics and video requests, narration and sound, animation instructions, and interactivity Instructions. - Graphics And Video
This area is where notes are included if an outside vendor needs to be used to create images or video for the course. - Narration And Sound
Add the narration text into the note section of the slide. Put only the text for each slide in the narration. This forces the voice artist to create one audio file for each slide and name the file according to the slide number. This saves much development time. - Animation Instructions
This section describes any elements of movement or change within the slide. For example, slide fades in, narration starts. Bullet point text floats in from screen left in time with narration, etc. - Interactivity And Navigation Instructions
Explain what happens when the user clicks on a button, moves a slider, drags and drops an item, etc. Be thorough and specific. For instance, the user clicks next button to advance to slide 2A.
Congratulations! You have done a lot of work. So what is the payoff? Creating an in-depth storyboard may sound like double the work, but in the long run, it is faster and easier to solve design problems early in the process than after a round of development is complete. Handing your client a storyboard that limits ambiguity in design and function reduces revisions. Handing a complete and client approved storyboard to the developer saves time and money.