
How To Create A DIY Whiteboard Animation Video For eLearning
What are whiteboard videos? The easy answer, whiteboard videos are videos of writing on a whiteboard. The video usually focuses on the writing on the board, and they often include narration.
Now, if you want to create a live video of yourself drawing something on a whiteboard, go for it! But this article is not for you. I have created live action whiteboard videos, and they are time consuming to create from scratch.
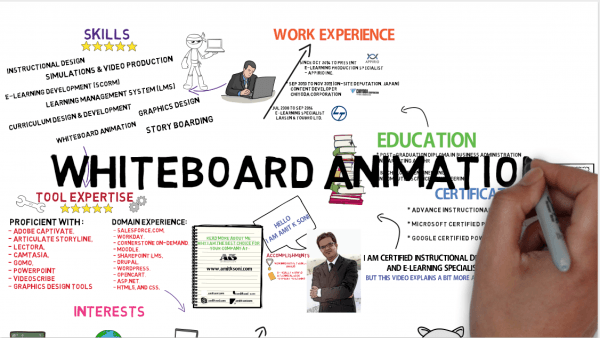
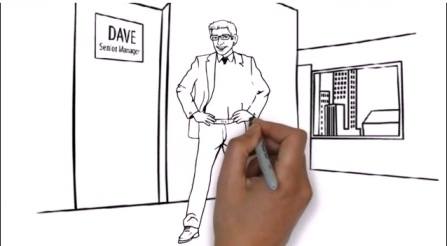
This article is the instructions for creating a whiteboard video using software. Here’s a side-by-side example of an actual whiteboard video and a video using Sparkol Videoscribe.
Software-drawn videos may not have some of the charm of a live action video, but they allow production without needing the proper lighting, recording equipment, and artistic abilities.
So, if you want to create your own whiteboard animation videos such as this video on the 70:20:10 Framework, this article is for you! Here is how to create a whiteboard animation video for eLearning:
1. Write The Script
The first step is writing a script. The process you use to create a script may vary, but a script should be the end product. Not a blog post, not an essay, not a storyboard, but a script of exactly what you plan on saying during the video. When working from source material, I like to read the source material out loud in the way that I would present it on a stage. I might not say every point, I might simplify sentences, and I will certainly add extra words, and my script will reflect that.
2. Storyboard The Script
Now, after you’ve created your script, you are ready to storyboard. Somethings are easier to demonstrate or visualize than others. Abstract concepts can be difficult… so don’t focus on those. Focus on memorable visual cues that reinforce your script.
Additionally, the storyboard phase is when you decide how you want to organize your script onto a whiteboard. Where do you move the frame? What is the movement of frame to frame? Will each frame tie into a larger picture? These all are questions you think about while storyboarding.
Your script and storyboard work hand in hand with each other, sometimes overlapping, but often communicating separate but related things.
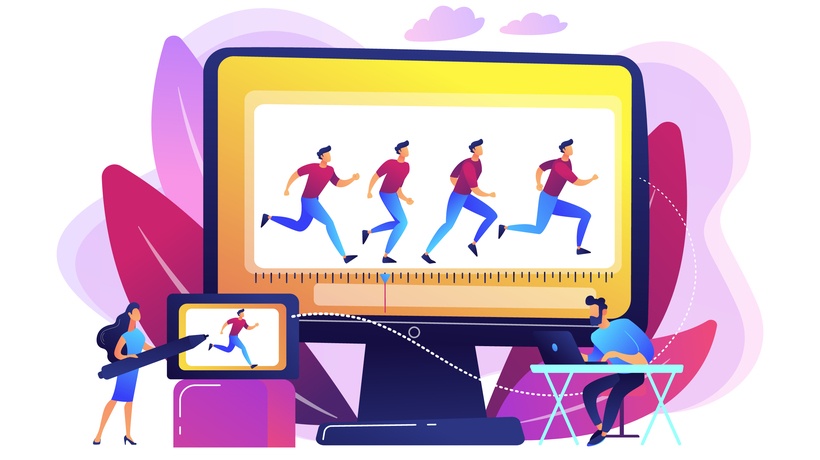
3. Animate The Storyboard
After storyboarding, the next step is to lay down your storyboard in a way that corresponds to your script. For me storyboarding is the idea stage, and animate is the execute stage. The mechanics of your animation stage will depend on the platform you use and the icons available to you, but this is the time that you create your story.
4. Time The Animation
Timing your animation is tying your animation back to your script. The timing of your animation and your script is where the magic happens. Do you want icons to come in right when you say them? Or do you want them to slip in while you are talking, and perhaps counter to your script? These are all artistic tools you can use that bring life to your video.
I often take each frame and speak out while tweaking the timing of each element in chronological order.
Quick note, this is where the importance of your script being very close to what you say comes in. If you change the way you make your points every time, your timing will be off and your animation might not match. Update and change your script as much as you want but stick to it for consistency.
Pro-tip: Get your animation and script as close as possible but it doesn’t have to be perfect, just close. Then, after you record your audio you can tweak the timing of your audio and animation to match perfectly (but try to get it as close as possible; large time issues will be very time consuming to correct).
5. Record The Audio
You have your script, you have your animation, the timing is all there, now the final step is to record your audio.
For the sake of ease, consistency, and fluidity, I like to do audio for shorter videos in one take. If you need to break it down, then, by all means, be my guest, but I find that loses the energy.
While recording audio, I use two screens; one that has my script, and one that is playing the animation while I speak so that I can maintain timing. If you don’t have two screens, print your script.
I generally use a USB microphone for recording such as the Snowball or Yeti, but there is a myriad of options, including using an iPhone (surprisingly good quality).
Finally, try to make your voice interesting. I like to record the audio for my videos as if I was giving a passionate presentation to a small group. If you have any experience with public speaking, here is a chance to use it! And if you don’t, there are a lot of resources for public speaking.
I hope you found these 5 steps useful, and if you’d like help creating whiteboards for learning, contact us at Infopro Learning.