
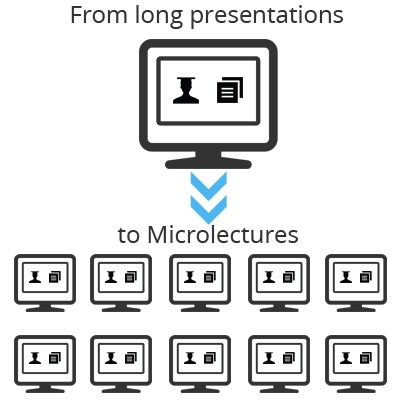
Microlecture the format designed by David M. Penrose is a simple multimedia presentation that can be from 1 to 3 minutes long and combined with the following assignments and discussions to engage learners. With microlecture you can:
- Give your learners a brief overview of the content with key concepts.
- Demonstrate a single problem solving procedure or give a step-by-step instruction. This is appropriate especially for concepts that are difficult to understand.
- Make attractive introduction of a learning topic and its objectives with personal touch and thus raise awareness and curiosity of your learners.
Why Microlecture?
Microlectures have the same benefits as a short video, which is a proven method of fostering deeper cognitive processing. The main benefits of microlectures are:
- With core-focused short lectures learners can control their learning. They can choose which lesson to watch and move through them at their own pace. They can return to microlecture any number of times to ensure the understanding.
- Microlectures are great supporter of flipped classroom, saving classroom time for activities that are more focused.
- Recording microlecture is certainly quicker and easier than one hour lecture.
- Reusability of microlectures over time and in different modules results in time spared for creating new engaging contents. Although some microlectures will need refreshing, it is certainly easier updating a 3 minute lecture than a 30 minute one.
How To Create a Microlecture?
You can create microlecture as narrated PowerPoint, screencast or short video. In this post I’ll present creating microlecture on the basis of your PowerPoint slides, considering Penrose’s steps and 10 brilliant design rules for e-learning by Richard Mayer and Ruth Clark:
- List of key concepts you are trying to convey in your microlecture. This will form the core of your microlecture.
- Write what you are going to say in advance. It will help you to be concise. Don’t forget to prepare 15-30 seconds long introduction and conclusion to create an appropriate context.
- Prepare your slides. For 3 minute microlecture there should be no more than 3 slides. Use bullet points, simple writing, highlighted keywords and short paragraphs instead of too many words. Be careful with complementing voice narration and screen display to each other. If not, learners may find it disturbing. Instead of text against graphic, use voice narration to avoid cognitive dissonance.
- Record microlecture using microphone and web camera. Recorded speech should sound good. There shouldn’t be any additional background noises. It should be loud, clear and consistent. Your speech should be calm, natural, trusting and most of all inviting. Include a web camera to make your lectures even more credible. Learner feels connected to the person speaking to them. When making a video, look directly into your web camera. Watch out for any inappropriate facial mimics. Web camera is not suitable for explaining certain charts or diagrams, because learners should focus on them and not on you.
- Use annotation tools to refocus learners’ attention on a particular part of the slide content. The most useful tool is a mouse pointer. You can also use tools for drawing/writing on slides and zooming the content. All these actions are synchronized with your speech.
- Design an assignment to follow the microlecture. This could be reading, written assignments, quiz, and discussion to ensure that learners understand the topic.
How to deliver microlecture to your learners?
In delivery, you should distinguish between microlecture as a single episode or as a part of the larger whole.If your microlectures represent single episodes, you can upload them to your LMS, embed them on your web site, blog or wiki or simply make them available via email.
If your microlectures contribute to the larger whole, than they shouldn’t be presented as the floating objects in the middle of nowhere or inside of the endless list of resources. It is better to be puzzled together into a new and coherent whole. That means that the delivery should be different. One possible way to do this is that you connect everything in a Learning Map which will guide your learners through the topic in many short episodes. You can see the example below.


References:
- 7 things you should know about Microlectures
- Online education – Inroducing the Microlecture Format
- Attention span
- Microlecture
- Why you should add videos to your teaching
- 10 brilliant design rules for e-learning