
How To Produce A High-Quality Voice Over At A Small Price
Adding audio to images and video will completely transform your presentation. Producing a high-quality voice over at a small price for online courses is simple to do. But having a high-quality sound is essential because bad sound quality will have a detrimental effect on learners’ perception and attention span. A narrated course is more dynamic and interesting. It allows you to balance your explanations between the text and the voice. This helps learners to better remember, as determined by Edgar Dale, a famous American educator. He discovered that we remember:
- 10% of what we read.
- 20% of what we hear.
- 30% of what we see.
- 50% of what we see and hear.
Therefore, adding audio to a course not only makes a better presentation, but helps people remember what you’re teaching them. However, the sound quality is paramount, to avoid learners being aggravated and focusing on the bad sound rather than on the topics presented. Background noises, an echo, mouth noises, and other environment noises can be very aggravating an distracting and can even make learners completely lose interest in your material. But producing a high-quality recording is not very complicated. You only need to take a few precautions and have the proper equipment.
1. Narration
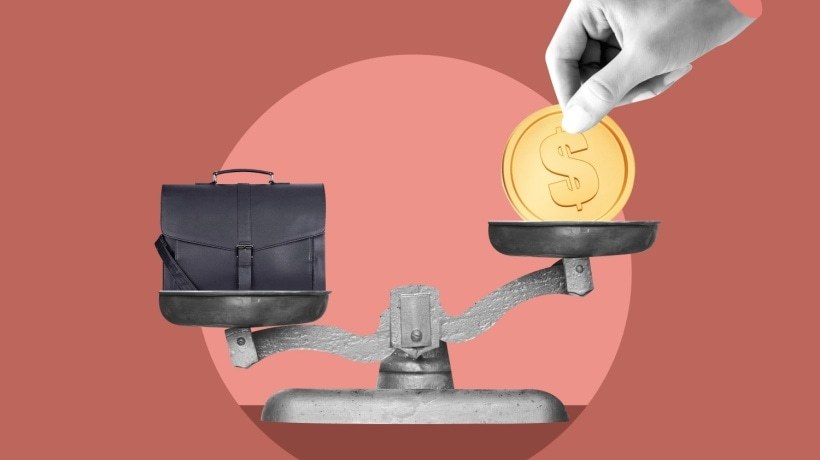
You can certainly ask a professional voice talent to do the recording. But this option is quite expensive, both for the initial recording and the corrections that will have to be made afterwards. If you have a large budget and not too much recording to do, this is certainly an option, but if your budget is small and you need a lot of recording, it soon becomes a major expense. The alternative is to find a voice talent within your team, i.e. a person with a nice voice able to present material in a dynamic way. Avoid a monotone intonation because it will not have a good effect on your learners.
That person must also be able to enunciate clearly. Learners must not wonder what is being said. Be careful not to make too many mouth noises or other noises while speaking. Pay attention to details, for instance when starting and stopping recording, when a "click" can be heard while speaking. It is recommended to do the recordings early in the day to avoid sounding tired. You can clearly hear the fatigue in a recording. If the voice talent becomes tired, it’s best to stop and start again the next day.
2. Recording Environment
Recordings need to be done in a quiet room with no background noise such as a ventilation system. Find a place that is not too big or open, or in the middle of other desks or close to a call center. Professional recording studios have walls covered with sound-proof material that absorbs sound, but you don’t necessarily need to soundproof your room. The equipment now available on the market allows you to compensate for these problems, up to a certain extent, allowing you to produce quality recordings even if your conditions are not ideal. You simply need to meet minimum conditions. The smaller the room the better it will sound. You can put things on the walls to prevent the sound from bouncing back, which will produce an echo in your recording. One of my clients did a recording in his office that was next to a police canine unit, and decided to start a fan to drown the barking noise. Needless to say that the sound was awful and the recording had to be redone.
3. Insulation Vs. Sound-Proofing
Insulation is not the same as sound-proofing, and the materials used in each case are different. Insulation manages heat, whereas sound-proofing manages the way the sound travels. This means that the sound will not bounce or go through sound-proof walls. It will be absorbed by the sound-proofing material. One of my corporate clients had a small room built for recording audio. This was built in the middle of a computer repair center where computer technicians worked and interacted. The party who built the room insulated it instead of sound-proofing it, mistakenly thinking that it was the same thing. The result was that the room became very hot rapidly and the people talking and interacting outside the room could be heard distinctly. The trainers had to ask them to keep quite while they were recording. That was not really ideal to keep friendly relationship between these various groups…
4. Finding The Right Equipment
Finding the right equipment simply requires some basic information. You can acquire this equipment at a very reasonable price without purchasing the same expensive equipment as music studios do. When my corporate client visited a music store selling this kind of equipment, they suggested getting an external sound card and microphone that ran in the thousands of dollars. This equipment ended up being too complicated for the trainers to use and did not produce a better quality than a simpler and less expensive microphone that was directly connected to the computer.
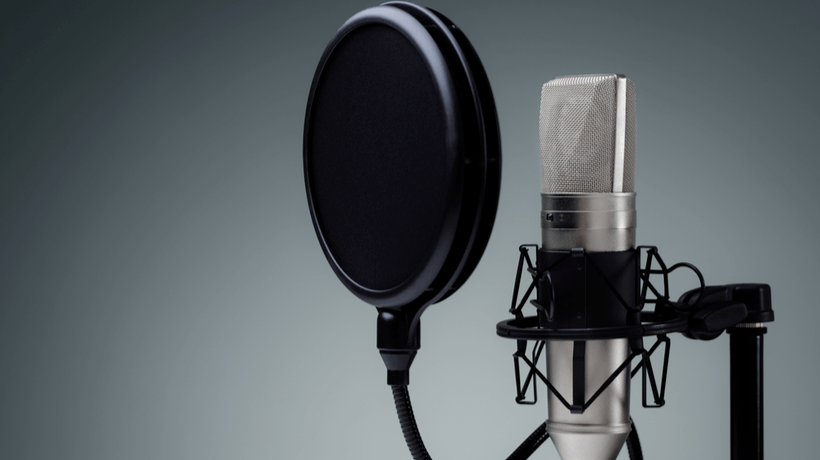
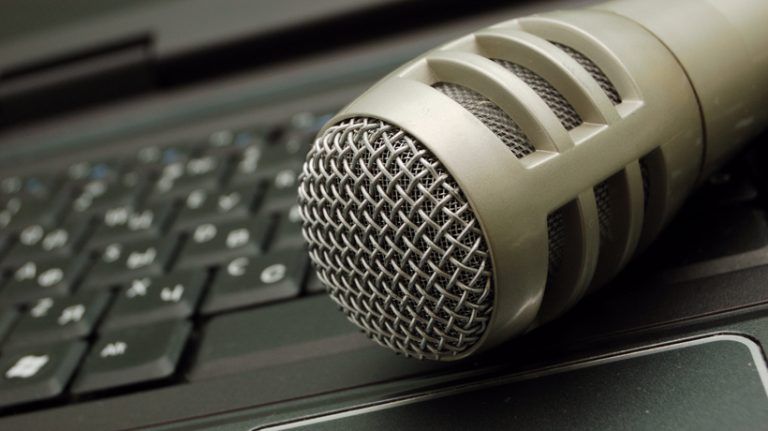
To make a quality recording, all you need is a cardioid microphone with a stand and a shock mount, i.e. the microphone holder with a shock proof device. This type of microphone is very sensitive in front and not in back, so that it doesn’t pick up the noises all around it but mainly what’s directly in front of it. You need to avoid using a multidirectional microphone that records in a 360 degrees arc around it, picking up all the noises in the room. There are several good cardioid microphones that can be plugged directly into your computer with a USB connector. Their price is in the $200 range. You also need a pop filter to minimize mouth noises such as «Ps» and «Ss» and these cost around $20.

Cardioid Microphone AT2020
The microphone stand can be a table stand, either with small legs or with a clip. The important element is the shock mount. Some stands come with a shock mount, which looks like a star at the top of the arm on the image below, but you can buy it separately. A table stand with a shock mount costs about $50.

Table Microphone Stand with Shock Mount and Pop Filter
Then you can add a small sound shield behind your microphone to absorb the sound you project into the microphone, especially if you’re not in a sound-proof booth. If you use this shield, you don’t need to worry too much about sound bouncing off the walls if you’re in a normal-size room. Sound shields are sold between $50 and $100.

Sound Shield
With the equipment described above, you can record your voice in a quiet room without having to sound-proof it. This means that you can produce professional recordings with about $300 of audio equipment, excluding the computer and the audio recording software.