How To Create A Quality eLearning Home Office Studio: An Update
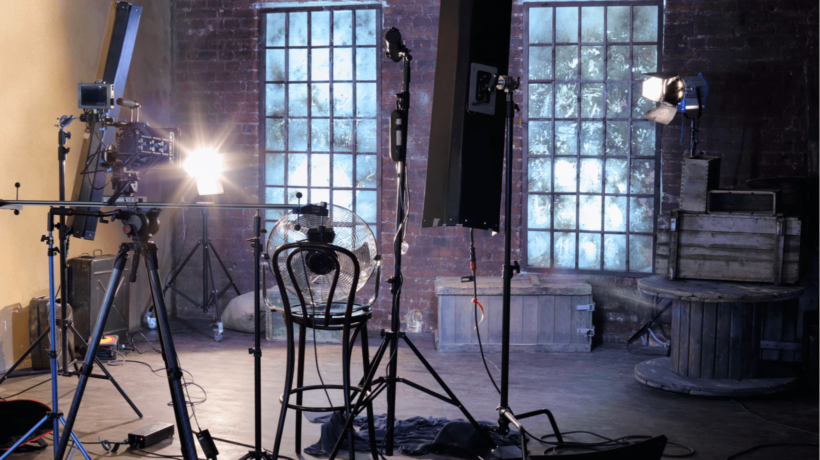
My first article, Creating A Quality Video Production Studio For eLearning At Home, was on how I created a workable quality recording studio for eLearning videos recording and production. Thankfully, there was no need to record in a closet (don't laugh!) or destroy a room by adhering acoustic tiles on the walls.
Over the past three months, I have continued to experiment and improve recording quality. I digested dozens of YouTube videos (Podcastage comes to mind) providing great advice and reviews for the non-professional user. I clarified my goals in this order:
- Create an environment that will provide the best recording quality with little to no noise
- Not cost a fortune
- Must be simple to set up and practical to use
- Be flexible with audio selections in that there are times you want a headset, and there are other times you want a standalone mic
Quiet Living On A Mountaintop
Our living and working environment had some challenges…
The big city draw, according to Rise of the Rest, is shifting from big city tech centers (like Silicon Valley) to outlying areas. My wife and I share a home office, and escaped hectic Seattle for the mountains of north Idaho. To our surprise, our working environment wasn't quiet at all: 40 trains go by a day, wild winds, crickets, Uninterrupted Power Supplies popping at least ten times a day, and even a motor speedway nearby. Unreal.
The solution has been to be smart about scheduling your work, choosing a location in your house to work in, and using the proper tools.
Setting Up A Recording Environment
The 3 types of mics I considered were:
- Built-in mics on the computer
- XLR dynamic or condenser mic
- USB mic or headset
If you want anything close to the quality of a Lynda.com eLearning recording, never consider a built-in mic. A future article will present an easy way to set up an XLR mic studio using almost all of the same gear and recording environment in this article. This article will focus on selecting the best USB mic for a home office studio.
For any machine to be useful in the recording and editing, it must be a capable, high-performing system. An Intel i7, 8+ GB RAM, quiet SSD disks, high-resolution displays (Retina, 4K, or 5K), and Thunderbolt 3/USB-C ports.
To test out a wide assortment of USB mics, I created a spreadsheet to help me remember which equipment and settings were used:

In my initial round of audio tests in our home office, the results weren’t good at all due to the hum of disk drives, power supplies, and other equipment. For the Blue Designs Yeti Pro, I mistakenly used omnidirectional mode instead of the preferred cardioid mode. It also didn’t help that the floors were all hardwood. That caused the voice recordings to have a slight echo and tinny sound. Background noise was very noticeable. Using audio software tools to remove the noise resulted in inferior voice quality. Soundproofing the recording area didn’t seem to make much difference either.
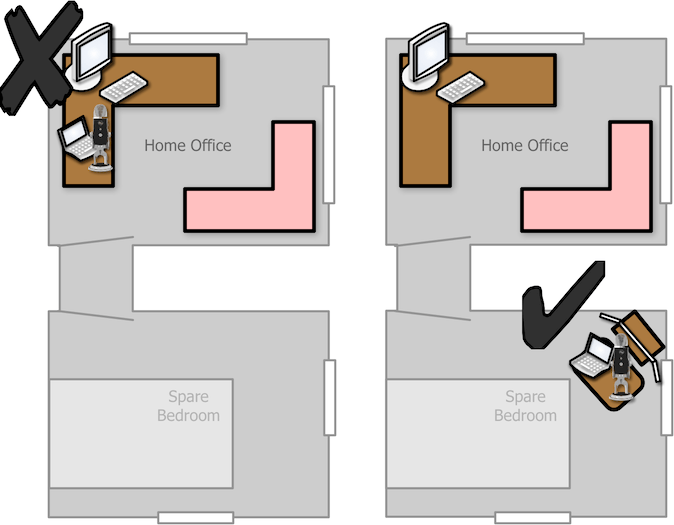
Home Office Or Spare Bedroom?
My instructional video work must support recordings of software apps running on either Macs or PCs. For that reason, I can place a laptop on a height-adjustable laptop table that can be rolled into a spare, carpeted bedroom.
My Mobile Recording Environment
I can record voice and apps on either a Mac or Windows laptop. I also use an external video monitor that is capable of matching the resolution of the final 720p (1280 x 720 pixels) video recording. The laptop’s hi-res display can be used to monitor the recording status.
After testing USB mics from Rode, Beyerdynamic, and Blue Designs (Logitech), I settled on the Blue Yeti Pro. I also settled on this recording environment that could support just about any modern laptop:

- I chose powerhouse 13-inch laptops to record on MacBook Pro 13 (shown above), HP Spectre 13T, or the Dell XPS 13. I stayed clear of larger laptops to conserve table space.
- I found one 65W AC power adapter that supports all three laptops from LifePowr, a Belgium company. US and EU plugs are included, too!
- Although there are several USB-C portable external monitors available on the market, I selected the AOC i1601fwux. It doesn’t require external power and is configurable for different display resolutions. I use 720p for all app recordings.
- I needed an isolation shield behind the mic, and I discovered the Aurelex Acoustics MudGuard 2. Its unique convex shape does a masterful job of not only isolating outside noise but absorbs voice to produce a nice "dry" tone.
- The compact Neewer Adjustable Mini Stand supports the lightweight Mudguard isolation shield. I found that pretty amazing.
The inset shows the mic assembly installed on a boom arm stand:
A. The amazing Blue Compass boom arm is the best quality device for the price.
B. The Blue Radius III shock mount with the Blue Yeti mic couldn’t fit in the pocket area of the isolation shield. So, I chose the Knox Gear Blue Yeti shock mount instead.
C. The Blue Yeti Pro is my mic of choice due to its versatility, expanded recording range, and ability to use an XLR interface instead of USB.
D. The fitted Vocalbeat Foam Windscreen absorbs gusts of air and fits right over the mic.
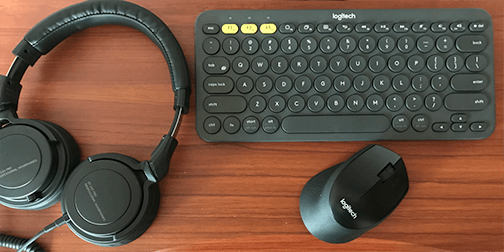
Note that my choices for a quiet keyboard (Logitech K380 Silent Keyboard), quiet mouse (Logitech M330 Silent Mouse), and clear on-ear monitor headphones (Beyerdynamic DT 240 Pro) are my choice for inexpensive additions to quiet recordings:
What happens when I change between a Windows and Mac laptop? The external monitor, mic, keyboard, and mouse should be able to easily connect to either the PC or Mac laptop. The overall price for this entire arrangement (not including software) is about $1,000. This compares favorably to higher-end equipment that I priced well over $2,500.
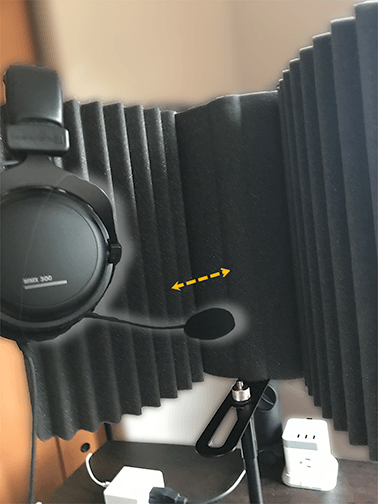
What About A Headset To Record?
After talking with Chris Mattia (LinkedIn premier media instructor), I learned that there are instances where you may want to switch from a standalone mic (like the Yeti Pro on a boom arm) to a headset. As a result, the boom arm can be adjusted out of the way and a headset can be used to talk directly into the isolation shield:
There Is Still Something Missing…
Although the laptop’s display could be used for managing the recording, what about reading a script while recording a voiceover? Looking back at the third photo in this article, there is room below the mic and in front of the isolation-shield stand to hold up a script. I found Ultimate Support’s Ergonomic Compact Laptop Stand that can hold an iPad or a notepad.
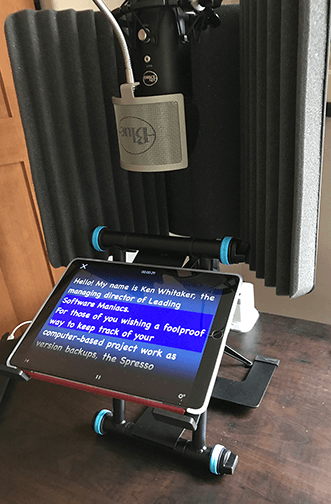
Teleprompting iOS apps, like PromptSmart Pro, listen to your voice and automatically steps you through your script. Wow!