Choosing The Best Software Tools To Record Professional App Training Videos
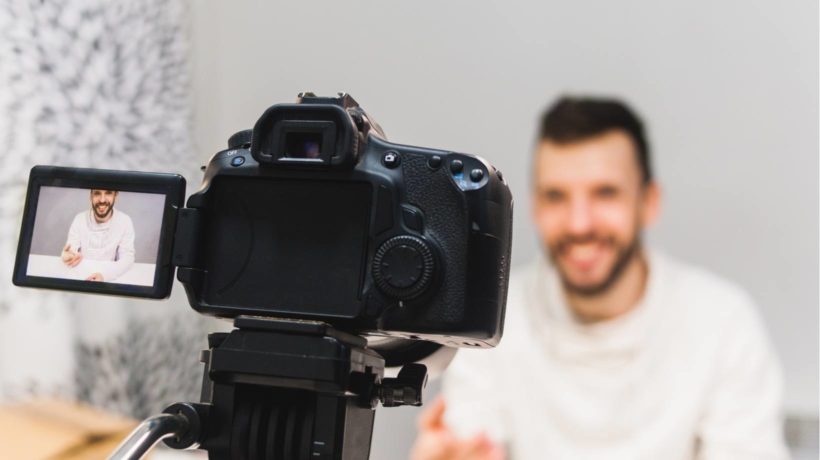
Making professional app tutorial videos has gotten easier for the home/office user. In fact, setting up an amazing studio doesn’t have to cost a fortune. I’d like to explore the software tools that are not only reasonably priced but rival expensive studio tools.
My goal was to create tutorials for apps I am attempting to crowdfund. The tools must be cross-platform, as the app runs on Windows and macOS. The best priced and highest quality tools that I’ve found is from TechSmith Corporation:
- Screen capture: Snagit (one-time cost or maintenance plan)
- Video recording, editing, and production: Camtasia (one-time cost or maintenance plan)
Preparing The Video Monitor For Recording
For starters, use a consistently sized monitor on the platforms you’ll be recording. These days, most PCs and Macs come with photographic-quality displays (Retina, 4K, and 5K). Recording at high screen resolution can be problematic if your users are going to view your training videos at lower display resolutions.
Rather than reconfiguring your main monitor, I highly recommend recording your app on a second display monitor. By configuring your monitor to 1024p (1920 x 1024 px) or 720p (1280 x 720 px), your recording resolution should be exactly the same for video viewing. No scaling required and, hopefully, the app being recorded is designed to fit on the screen.
Apply a bland monitor color (like 50% gray), and don't use complex imagery for the monitor’s background. That would be distracting from the screen content you are recording. Now that Windows and macOS support both light and dark mode, select one mode for all of your recordings:
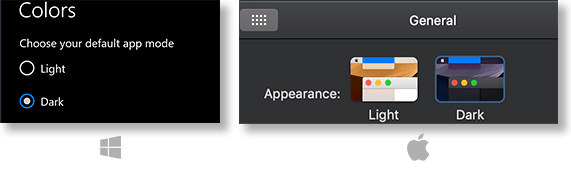
Changing the display mode is easy:
- Windows: Select the Light/Dark Mode in Settings > Preferences > Colors.
- macOS: Select the Light/Dark Appearance in System Preferences > General.
If system notifications are enabled, you may want to disable them from showing up at the wrong possible time:
- Windows: In the Action Center on the taskbar, click All Settings > System, and turn off notifications in the Notifications & Actions panel.
- macOS: In System Preferences, click Notifications and turn off notifications.
Most of us use the Desktop as a convenient place to keep temporary files and folders. Remove them all from the Desktop. To hide the Dock or taskbar, do the following:
- Windows: Right-click on the taskbar, click Taskbar settings, and select Automatically hide the taskbar in desktop mode.
- macOS: In System Preferences > Dock, select Automatically hide and show the Dock. The shortcut key Command+Option+D will show (or hide) the Dock.
Hint: If you need to use the Dock (or taskbar) temporarily, hover the mouse cursor over the very bottom of the screen.
With the taskbar hidden, and the desktop cleaned up, recording on Windows should be ready to go. On macOS, however, the current app's menu bar is shared with other distractions: icons, system status, and the day/time.
One approach is to limit what is shown on the menu bar by creating another user account for recordings of the app. You can then limit most – but not all – of the stuff on the menu bar. Another approach is to Hide the menu bar (System Preferences > General) and not use the menu bar at all.
There is, however, a clever alternative. Take a screen capture (with Snagit, of course) of the entire menu bar. With Photoshop (or another image editing app), edit out the unwanted menu bar items. Save this blank menu bar as a PNG.
In Camtasia, place the blank menu bar still image on its own track (1) above the screen recording. With the Crop Mode enabled, (2) mask out the unwanted menu bar elements in the recording:

Export the movie, and then reopen and place it on a track in Camtasia. At this point, you can perform all of the video edits you want (like the Spotlight cursor effect). Unfortunately, overlaying the menu bar adds another step to your video production process. The best thing about this approach is that you can reuse this blank menu bar technique on all of your recordings.
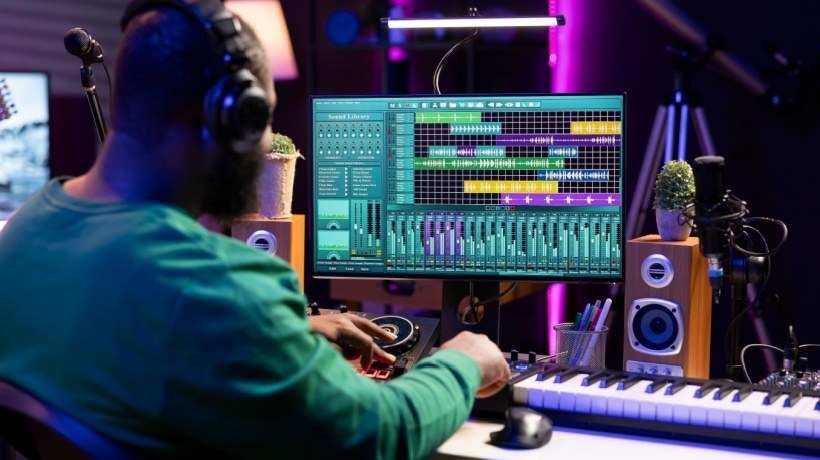
Getting The Best Audio For Voiceovers
Here are some hints for avoiding having to do voiceovers over and over again (my biggest fear):
- Before recording, clear your throat, twist your head back and forth, and breathe deeply for a few seconds. This is mandatory.
- Adjust the gain (volume) on your mic so that you can talk naturally without yelling. Don’t forget to place your mic close but below or to the side of your mouth. This avoids sounds from breathing and gasps for air that will naturally occur.
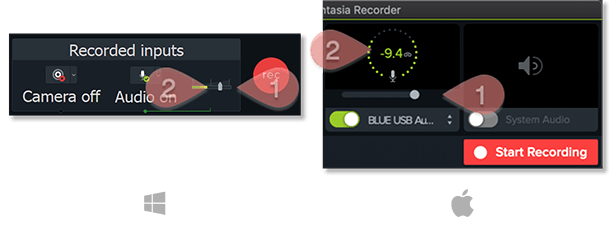
- Configuring Camtasia for audio voiceovers takes some practice. Start the audio recording (F9 or Command+Option+2) and plug in the mic. First set the mic’s gain control (1) to about 80%. Adjust the gain control on your mic (if you have one) or placement so that voice tests (2) top out at between 50 to 75% (Windows) or between -6 and -12 decibels (macOS):
- When recording your voiceover, pause in between sentences. Even a brief second makes a difference, as these pauses can be easily edited out without introducing a noticeable pop or sound gap. As with most recording systems, the voiceover track visually shows the voice and pause:

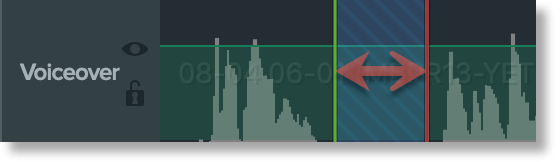
The height of the audio waveforms (before and after the pause) hovers around the Camtasia preferred peak. You don’t want the waveforms to be too low or clipped if too high. Select the area for each pause and ripple to delete them. Although Camtasia allows you to edit the waveform height, it is best to limit wholesale adjustments to voiceover recording to selective conditions (like fade-ins and fade-outs).
Putting It All Together
Finally, when is the right time to do voiceovers? You really have two choices: before you record the screen or during the screen recording. My gut feeling is the best approach is the latter. However, a noted eLearning video expert, Chris Mattia, prefers to prerecord the voiceover first. This approach offers the benefit of the total focus on the audio recording.
So, armed with a good script, I tried it out. And, by golly, I found the experience of separating recording of the voiceover from the app to be amazing! When I did both together, I found it difficult to keep up with the voiceover while working the app being recorded. And, surprisingly, synchronizing the two tracks with Camtasia was a "piece of cake".
My next article in this 3-part series presents the streamlined process I use to create and publish app training videos. This includes how to optimize your work with reusable video components.