
Best Practices For Effective eLearning Voice Over
The sound is the most sensitive component in your multi-media toolkit. When done poorly, it makes everything—i.e. all other plugins— fail. When handled well, it makes your project look and sound excellent. In eLearning Learning, CommLab India recently blogged, “If the onscreen content is the King [of eLearning], audio narration is the Queen”.
As a long-standing professional voice-over narrator, I happily agree. Just recall the last shoddy YouTube 'How-To' video you saw. Everyone and their sister tolerate mediocre video, but will rapidly reach for the kill switch on anything that sounds muddy, fuzzy, or annoying. Instead, we surf YouTube until we find something that doesn’t bother our ears. If we land on a trifecta of good VAC (Video, Audio, and Content), chances are we’ll also like it and subscribe.
This applies to voice-over narration in eLearning. Especially, if the goal is beyond retention and involves behavior change. If the sound isn’t pristine, we get distracted by it and don’t, optimally, focus on the lesson.
Here’s an eLearning sound excellence checklist to make audio narration your 'Queen'.
eLearning Sound Source
Microphone Check
At all costs, do not use the internal mic on your computer or handheld recorder. It just sounds ba-a-a-ad. The best sound will come from a condenser or a dynamic microphone. A condenser mic picks up all sounds, so you need to build a wall around it (see Surround Sound below), whereas a dynamic mic—also known as a shotgun mic—is extremely directional and will take care of a lot of the room treatment for you.
In fact, the Mk 416 Sennheiser is a preferred mic not only among professional voice-over narrators but among independent film/video makers as well, because of its sound-limiting quality. Professional narrators do not use USB mics because we also need a sound that is of “broadcast quality”. However, if you have a limited budget and your Subject Matter Expert or prof (or heaven forbid co-worker is your narrator), splurge on a good USB mic at a minimum. Although, for only $100 more than the price of a good USB mic, you can get a serviceable condenser mic on eBay, Amazon, or an exchange like Gearslutz.
What’s A Preamp?
Simply put, a preamp is a thing that lets your computer electronically understand your microphone. Some computers come with built-in preamp interfaces (sound cards), but to get the kind of sound you want, an external preamp, as simple as a Focusrite 2i2 or as portable as an iRig Pro, boosts and clarifies the signal. A preamp gives you lower (room) noise, less distortion, and makes for a better recording overall.
Around Your Sound
You need to consider the space you will record in. In eLearning early days, I remember being flown halfway across the country, being put up in a hotel, and then being given a healthy per diem only to record the job on a tape recorder on a bargain bin Radio Shack mic in the middle of a large office. Guess I never got over the ironic waste of the expense of flying in and accommodating a professional narrator, but then nothing being recorded in a proper manner and space. You need to deaden the sound behind and to the sides of your microphone.
Forget about soundproofing. At $100 a square foot, that's way too expensive and unnecessarily lavish. I regularly work in a sound studio where they’ve draped fleece and moving blankets overextended slide projector screens. Simple, cheap. Sounds great. What don’t you want in the space? Thin walls next to noisy spaces, proximity to restrooms, printing, photocopy machines, furnaces, or lunchrooms. No reflective surfaces like glass, mirror, bare desk surfaces. Cover them with a cloth.
eLearning Narration Method
Mic Technique
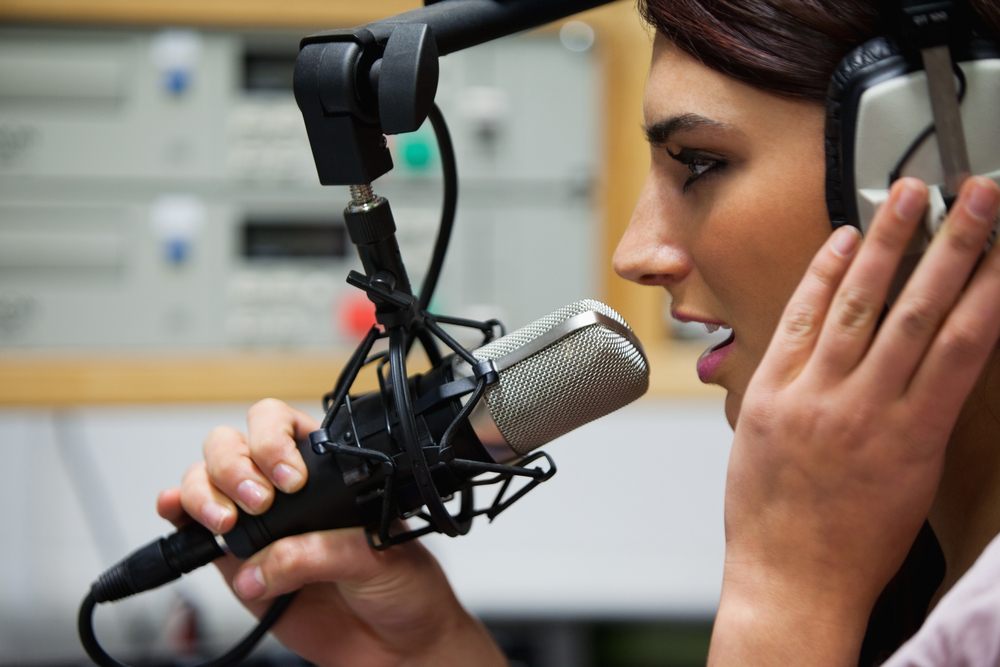
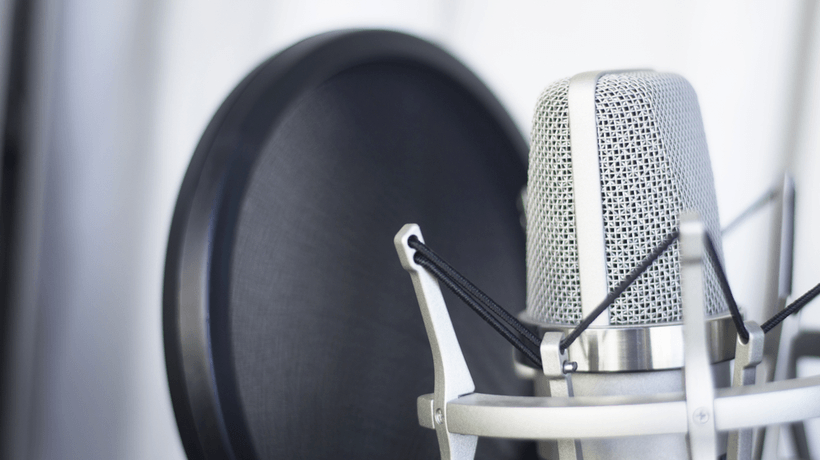
Spoken narration mic technique is very different from an MC or a singer at a concert mic technique. Professional narrators use the distance rule of 'thumb to pinkie' as the best space between your mouth and the mic. We pretty much always place a pop screen or filter within that space to cut and diffuse the air going into the mic. Placing the mic a little above or at a slight angle to your mouth also helps limit sibilance or other unwanted (distracting) noises. Keep your head steady in this position. Use your hands to express yourself, but be careful not to hit the mic or pop screen if you do.
Check Your Levels
The level (of decibels) at which you record should be consistent within a certain range. No sudden shouts. No drops to very low sound levels. It may sound intuitive and obvious, but these variations in levels are the dead giveaway of the amateur. Another mark of the untrained? Starting your sentence hot (with greater energy) and finishing the phrase with low energy. The industry standard is to record narration between -18db and -23db, with peaks no higher than -3db and a noise floor max of -60db.
How To Read
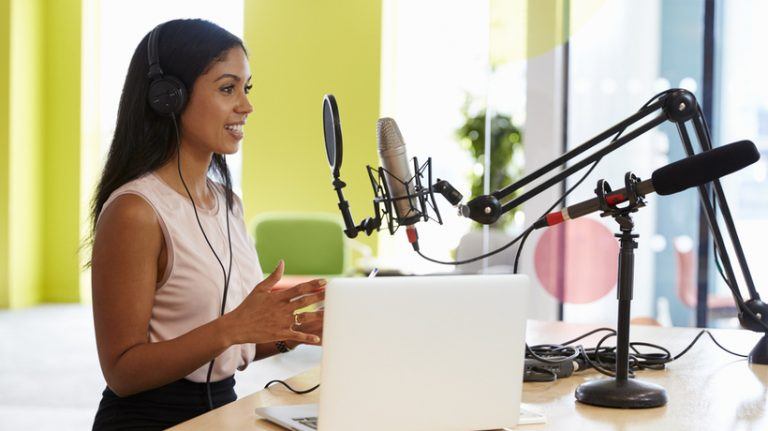
Books have been written, and I could add another to the growing list about how to read so it doesn’t sound like you’re reading. Other than an SME/prof who can riff on about a subject without a script (which, of course, makes course creation/design more difficult for you), the best people to read your script in a conversational way with passion and engagement are voice actors.
Trained in the art of being able to lift other people’s words off the page and make them real, voice actors across the world are embracing the virtual workplace, setting themselves up with home studios, and making themselves available at affordable prices. Unless you are training to become a voice actor yourself, in which case you have begun the practice of cold reading out loud (minimum) an hour a day, listening to and imitating “the Masters” (another hour or two per day) and recording yourself and working with an acting coach is not as easy as it looks. People default quickly into their “read-y” voices, and it comes off as robotic and boring to the learner. Best advice otherwise?
- Drink more water than you think you need when reading.
- Take your time.
- Put a picture of a learner in front of you and talk to him/her.
- Put your cell phone to your ear while you’re reading to keep it fresh.
- Even though the script is a monologue, imagine it is a dialogue. This brings the learner into the room with you.
eLearning Sound Post Troubleshooting
De-Breathing/Clicking/Popping/Essing
When editing, we (professional narrators) refer to a rough cut, a fine cut, and a mix. The rough cut is when we QA your file and make sure we haven’t missed or mispronounced anything. The fine edit is when we (or the sound engineer we subcontract) remove the breaths, clicks, any popped plosives (Ps, Ds, Bs) and minimize or treat any sibilance (hot Ss). Then, we mix.
Your EQ IQ
Neither an emotional nor an intelligence quotient, EQ as applied to an audio file is an equalizer. Applied in post-production, after the file has been recorded, EQ allows you to adjust the level of the frequency of the whole file or a part of it. Most professionals use an EQ plugin that comes with both high- and low-pass filters. Meaning, it boosts flattering and cuts unflattering frequencies in your mix.
Compression Discretion
EQ affects compression, but compression doesn’t affect EQ. Beyond that, as I am not a sound engineer, I apply a stack of plugins. One of my subcontractors was prepared specifically for me, for my voice and for eLearning. Like many of my colleagues, I also have personal plugin stacks created for commercial ads, audiobooks, web explainers, award shows, etc. Within the stack, there are limiters and other dynamic processing elements beyond the scope of what I need to know, except for the fact that they improve the sound of my files. If you’re interested in getting a preset plugin created for your own recording, I'd be very happy to recommend a sound engineer to you.