
Where did storyboarding come from?
Walt Disney Studio was the first to use storyboarding in the early 1930s, when animator Webb Smith drew scenes on separate sheets of paper and pinned them up on a bulletin board to tell a story in sequence. The first complete storyboards were created to plan the 1993 Disney short film, Three Little Pigs.
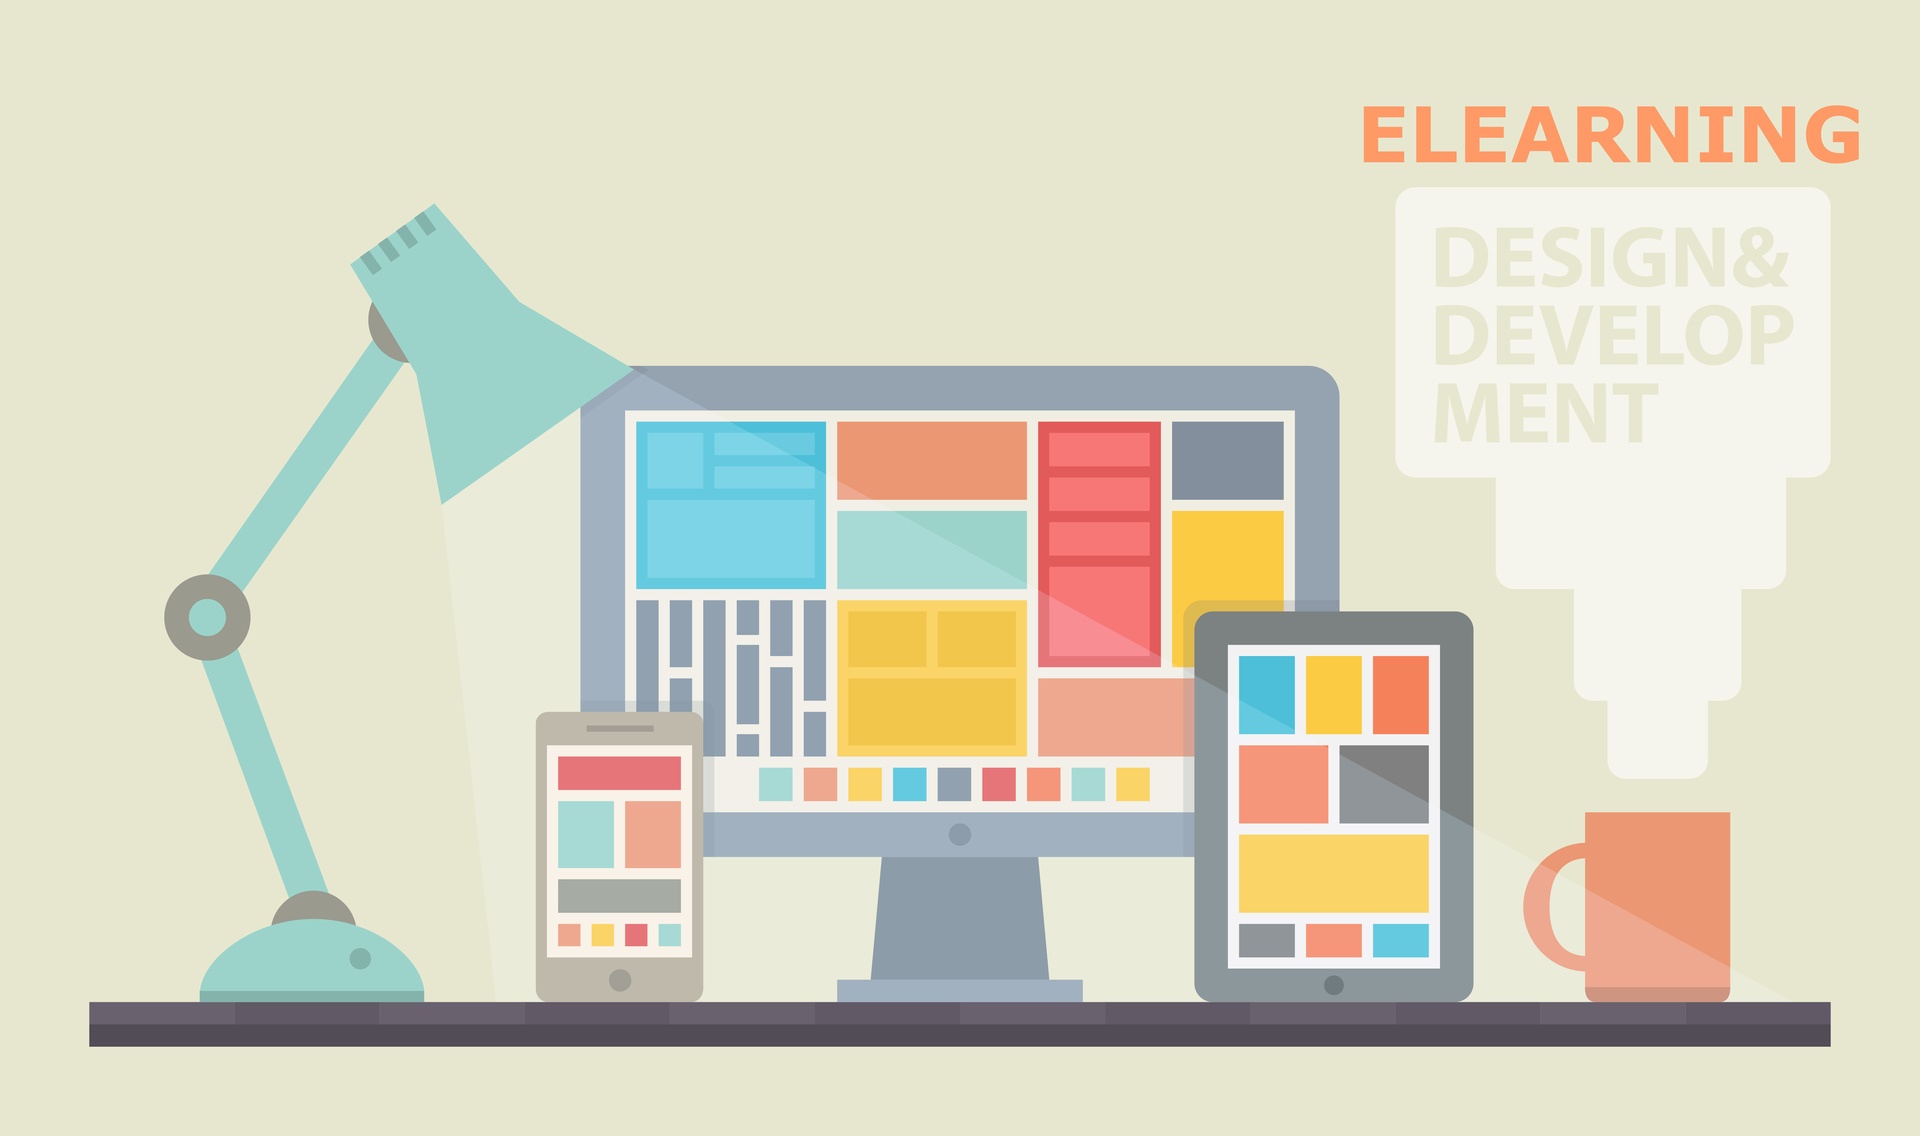
How will storyboarding benefit my e-Learning course?
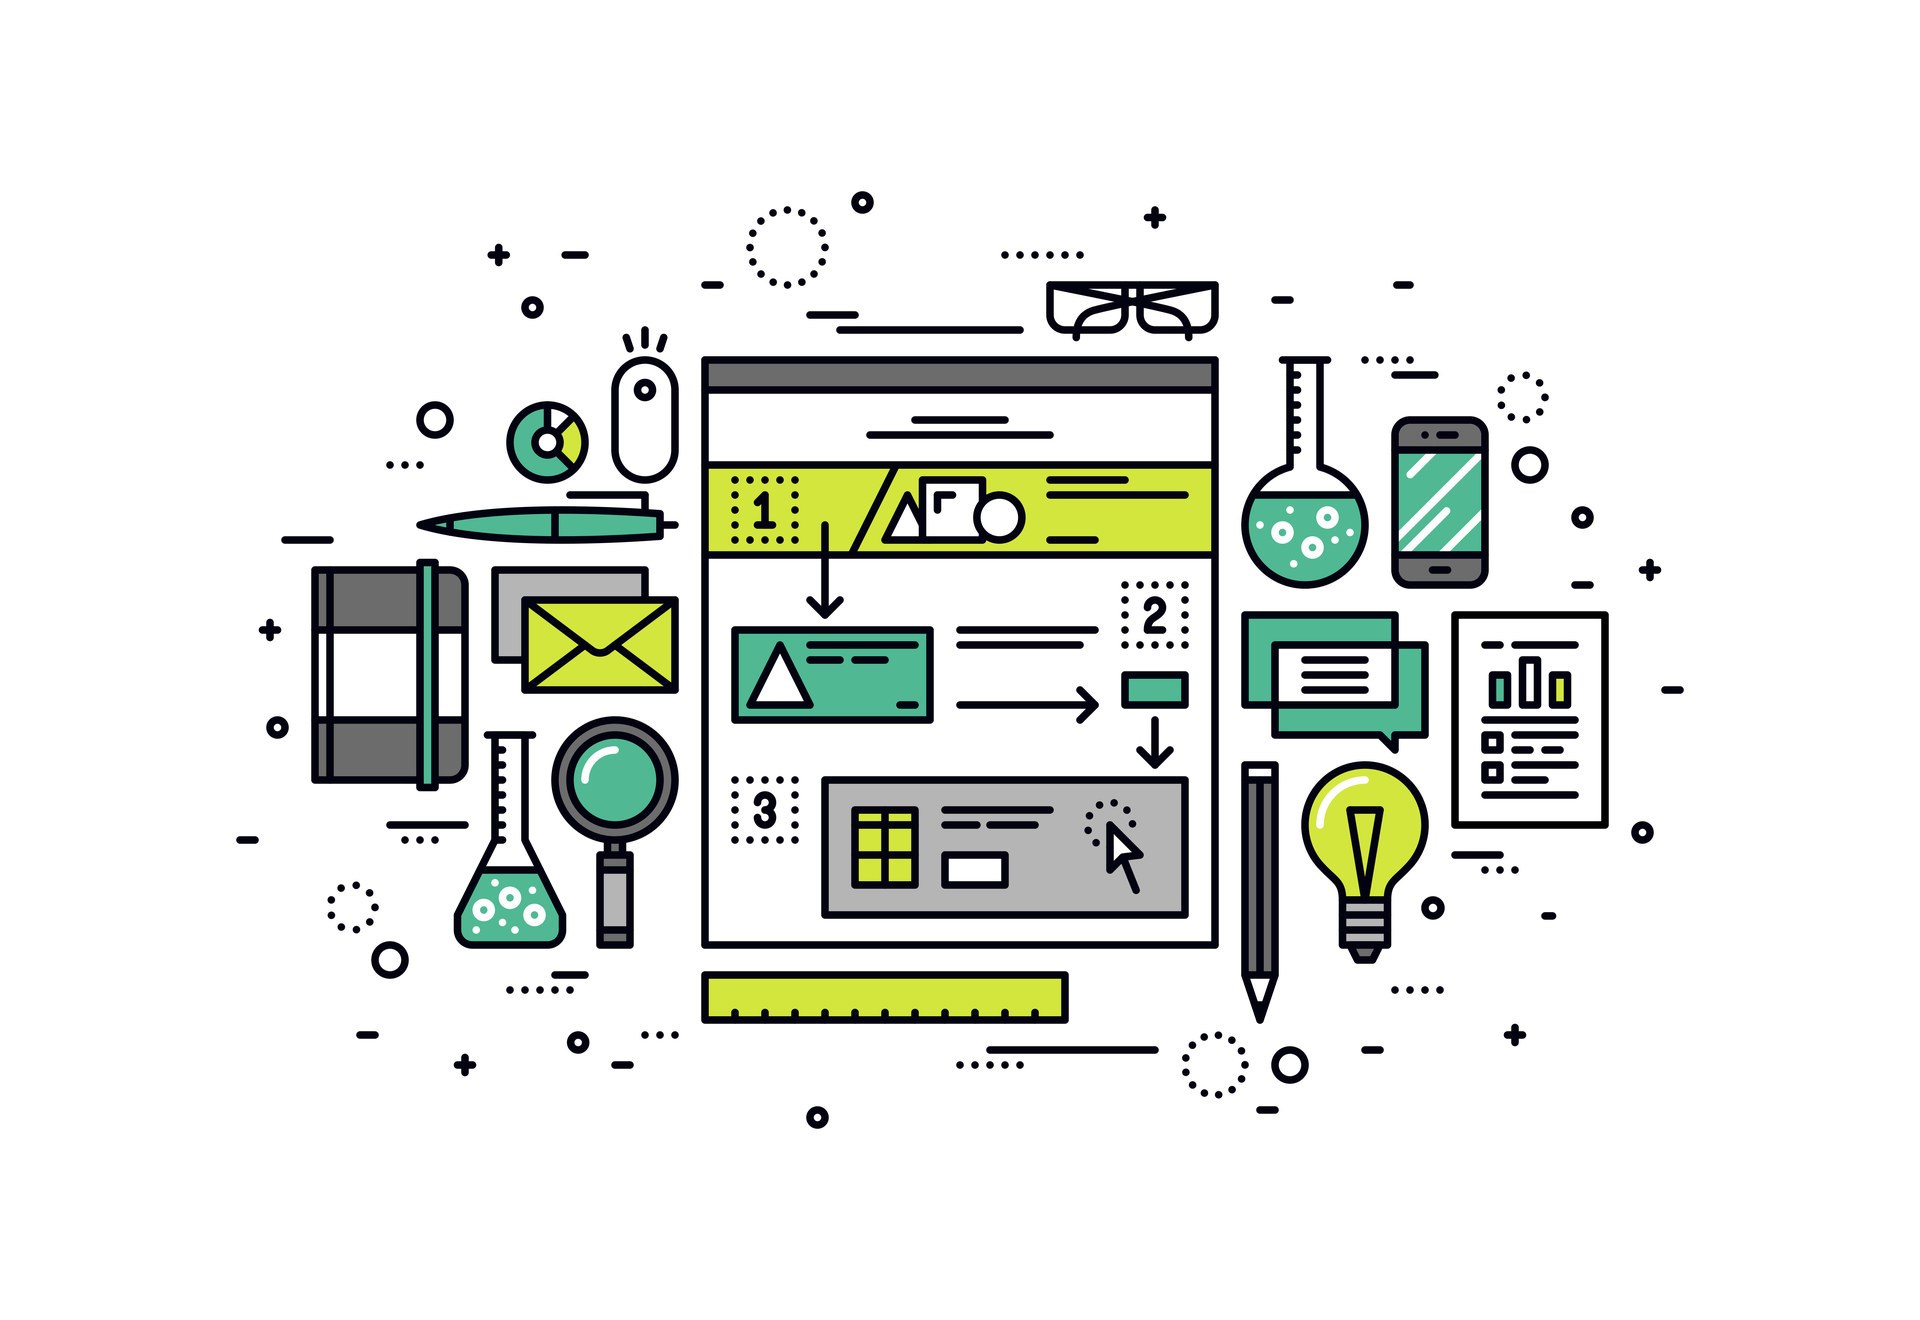
Storyboarding helps film creators plan out scenes and more; it can have similar benefits for your e-Learning course. One way is that it allows you, the designer, to experiment with changes in sequence before you actually start developing the course. This saves valuable time and money in the end. In addition, storyboarding allows you to figure out the interactive elements, games, audio or video you will include in the course, along with where they will go.
Want to storyboard like a pro? Use these 6 tips
- Write learning objectives.
Do this early to plan your storyboard and later to guide your actual course development. Decide the main points that must be learned from your course, and write those down as a reminder! For tips on writing learning objectives, check out this blog post: 4 Tips for Creating Effective e-Learning Objectives for Yourself. - Choose a consistent theme and style.
Storyboarding can help you plan the overall design of your course from an artistic perspective. For example, if your organization uses a certain look and feel for training materials, your storyboard is the place to indicate how that will be reflected in your e-Learning course. To learn more about design style, read this blog post: Tips from a Graphic Designer. - Include quizzes and tests.
Plan when you’ll add knowledge checks throughout the course. Storyboarding can help you see the best spots to stop and assess what your learners have accomplished so far. - Make it visual.
Add visual elements to provide an overview of the screen with just one look. For example, visuals can illustrate the interface of your course to help your team understand how you’re imagining that the course will look. - Consider your timeline.
Be realistic about what you plan to include in your e-Learning course. Storyboarding can help you decide what you have time for and what you don’t, so you can focus on the priorities. - Review with your SMEs.
One advantage of storyboarding is that it provides an easy way to include your SMEs (or subject matter experts) in the development process. Be sure to get their feedback on your storyboard before you start creating the actual course. Here’s a great blog to help with SME communication: Working with Subject Matter Experts.
Follow these tips, and you’ll be set for storyboarding success!