
How To Design An Interactive Pyramid With PowerPoint
The Pyramid interaction is commonly used in eLearning courses as a way of exploring a hierarchical relationship of concepts. In particular, the pyramid interaction is used when learners are asked to identify the relationships that exist within a hierarchy, recognize the different levels and the role played by each level, or explore the steps of a process or procedure. In this tutorial, you will learn how to create an interactive pyramid with PowerPoint.
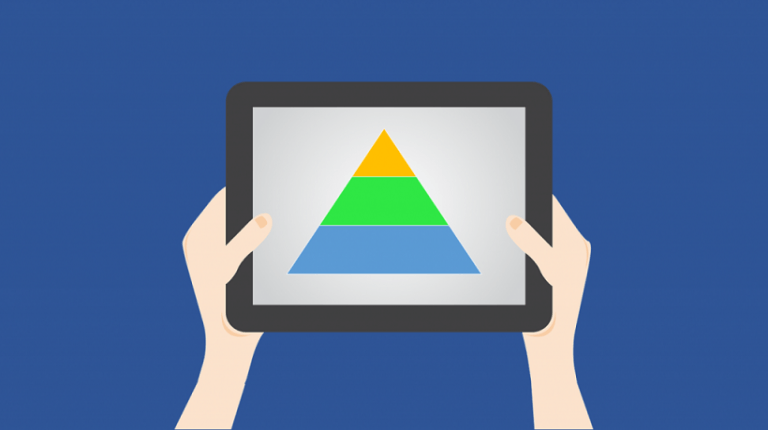
PowerPoint includes a quite useful feature, the SmartArt graphic. The SmartArt graphic is used to create visual representations of information in a quick and easy way, without requiring knowledge of graphic design. It offers different types, for example list, process, relationship, etc. and each type includes a variety of layouts and color schemes for you to choose the one that applies best to your own preferences. As you can imagine, a pyramid graphic is included and this is what we need for this tutorial.
1. Select And Design The Pyramid SmartArt
Start with a blank slide and from the "Insert" tab select "SmartArt" and then the pyramid type. Once the SmartArt is inserted, two new tabs will appear that help you modify the graphic: The "Design" and the "Format" tab. The "Design" tab is used to add another shape/level on your pyramid and change the layout and the colors whereas the "Format" tab is mostly for editing each shape of the pyramid individually as well as the text within it. Transform the pyramid according to your desires and add text or/and images on each shape/level. For example, I created a food pyramid enriched with cliparts on each level to show different food groups.

2. Add As Many Slides As The Levels Of Your Pyramid
When you are done editing your pyramid and you are sure that there is nothing else to be added, duplicate the slide as many times as the levels of your pyramid. Remember that your first slide is your starting slide and all the effects will take place within it. Therefore, you must have a) your starting slide and b) X slides, where X is the number of the shapes/levels of your pyramid.
3. Link The Slides
Now that you have your identical slides added, it is time to link them with each level of your pyramid. Because the pyramid interaction asks the learner to explore, the "mouse over" effect is the best choice for the linking. In order to do this kind of linking, select the first shape/level (starting from top to bottom to make things easier) and on the "Insert" tab select "Action". On the pop-up window that will appear, click on "Mouse Over" and select "Hyperlink to" and choose the slide that is related to the first level of your pyramid. And one more thing: If you have added images on each level, you must also link them following the same steps. Otherwise, the mouse over effect will take place only when the learner hovers the mouse cursor over the shape/level. Repeat the steps for each level and always preview to make sure that the hyperlinks are done correctly. The first part of the linking is completed.
4. Customize The Slides
Since the first part is completed, you can start modifying each slide separately. You may add textboxes, bubbles, or images that contain additional information for each level. That way, when the learner hovers over a specific level of the pyramid, the transition to the slide will take place and more information will appear for the learner to read. Make sure to give emphasis on the level shown by doing the following: Insert a rectangle shape that fills the whole slide and adjust the transparency from 0% to 30% so that the pyramid seems like a part of the background. After you have inserted the shape (for example on the slide that relates to the first level of the pyramid), return to the starting slide and copy the first level with all the images or/and text included. Return again, paste all objects and they will be automatically placed at the exact same position. Remove all hyperlinks from the objects copied by selecting each one and following the same steps as previously described. The only difference is that now, on the pop-up window, you will select "Mouse Over" and "None".
5. Link The Transparent Shape With The Starting Slide
The transparent rectangle shape you added before has two functions: Not only it sends the pyramid to the background, but also helps the learner return to the starting slide and explore the different levels. This can be achieved with the mouse over effect. To do this, select the shape and follow again the steps as described on the third step, but now link the shape with the starting slide. Repeat the same for all the slides and you have successfully completed the second and last part of the linking.
6. Preview And Adjust The Presentation Settings
Every time you complete a step, always preview your presentation to check if everything is linked properly. When you are finished with editing and customizing your slides, adjust the settings of the Slide Show, by clicking on "Set up Slide Show" in "Slide Show" tab. Then, select "Browsed at a kiosk (full screen)" and click "OK". That prevents the learner from clicking on the arrows to navigate amongst the slides and forces him to explore the pyramid. Below is a preview of my final result:

Now it is time for you to try and create the pyramid interaction in PowerPoint. If you need help following the steps of this tutorial, do not hesitate to contact me. And if you are willing to experiment more with PowerPoint, here is a tutorial on how to create an interactive timeline and a guide for creating hotspots.