
Online Training Videos: Types And Methodology
Videos also help define your “educational marketing”, that is to say, they will implicitly communicate information about you and your brand to the people who watch them. Production value says a lot more about your organization and its involvement in the training course than you might initially think. Videos that are thrown together quickly communicate a certain level of apathy towards the audience, whereas a high-quality video will contribute to building strong brand recognition.
Training In An Online World
You will find below different types of training videos followed by the main advantages and drawbacks for each.
1. Teaser Video
The introductory, or teaser, video can usually be found in an online course catalog or on a course homepage. They last on average between 1 minute 30 seconds and 2 minutes and aim to introduce course topics, goals and the team of instructors. The video should be attention grabbing and send a positive message to learners. They should be dynamic with rich examples, and not just interviews.
2. Course Videos
There are several ways to structure a course video: film a classroom session, film in studio conditions, or use voice overs. Whatever the format, all videos should be concise and should not exceed 8 to 10 minutes. They should be straight to the point and contain only key information, including examples, to better capture the learner’s attention. After 10 minutes, you risk losing your audience’s full attention.
Filming A Classroom Session
Main Advantage: The learner feels as if they are “attending” a class.
Main Drawback: You do not fully control the classroom environment. Unforeseen issues (noise, power failure, etc.) could potentially undermine the video.
- Back Of The Class
This traditional method consists in simply placing a camera at the back of the room or zooming in on the speaker. The video is taken in one continuous shot, without editing. All you need to do then is simply upload the file online. This method, widely used in the early 2000s, is no longer recommended today. Its main drawbacks are length and monotony. There is no better way to lose an audience. Furthermore, classrooms are generally poorly adapted to this filming method, lacking the necessary light. Main advantages include cost-effectiveness and quick set-up. - Multi-Camera
This method consists in filming the speaker with several cameras, placed at different locations throughout the room. There are at least 2 cameramen present to manage filming. The main advantage is that you can vary close and wide-angle shots when editing to create a dynamic video. Since you need staff – cameramen, video editor – the method is rather costly. However, picture and sound quality are generally top-notch. New players, such as Ubicast, have emerged. They partially automate filming and are a good alternative to the traditional multi-camera method.
Filming In Studio Conditions
Main Advantage: You fully control the filming environment.
Main Drawback: Less “realistic”.
- Facing The Camera
Filming the instructor in their natural environment (classroom, training center, etc.) is good practice. With this method, the educator speaks directly into the camera, alone, possibly with the help of a teleprompter. 1 cameraman is sufficient. - Facing The Camera, With A Green Screen
Essentially the same as the previous method, except there is a green screen placed behind the speaker that can be used to change the background. You can, for example, add a plain background or add the colors of your company. You will need proper lighting and good image quality. When poorly executed, a green screen can spell disaster for a course, use sparingly. - Facing The Camera, With A Green Screen + Motion Design
On the green screen, you can add all sorts of animation with motion design. Animation is added during post-production and is done by someone who knows how to use programs including Adobe After Effects or Cinema4D. Motion design is ideal for illustrating concepts that are hard to explain orally, but is rather expensive. - Facing The Green Screen And Slides
On the green screen, you can add all sorts of animation with motion design. Animation is added during post-production and is done by someone who knows how to use programs including Adobe After Effects or Cinema4D. Motion design is ideal for illustrating concepts that are hard to explain orally, but is rather expensive. - Facing The Green Screen + Slides + Graphics Tablet
Same as the above method with the addition of a graphics tablet. The speaker can highlight important points or annotate data while speaking. This is particularly helpful for scientific courses, for example, when writing out formulas.
Voice Over
Main Advantage: Relatively low cost.
Main Drawback: Uninviting, lacks a human element.
- Animation Only
Learners only see animated motion design illustrating the voice-over. The instructor first records their course and the motion designer will then add animation. This method can be relatively expensive, depending on the motion designer’s experience. - Video Of Course Slides
Again, a cost-effective alternative. Be aware that a lack of animation and “movement” will reduce your audience’s attention. - Video Of Course Slides + Graphics Tablet
The same as the above method, however, “pencil strokes” help underline important points and keep the audience interested. - Video Of Course + Graphics Tablet
This method is more interactive than the previous one, but requires the instructor to be extremely engaged as they need to not only discuss course material but also illustrate it with data and diagrams. This method is not adapted to all subjects, but can be particularly useful for scientific topics. - Screencast
Widely used for software tutorials and highly suited for them. However, instructors with few resources can use this method to present a course supported by slides and use their mouse to point out important topics. All that is needed is software that allows you to take screenshots; hundred of them are available, in both free and paid version.
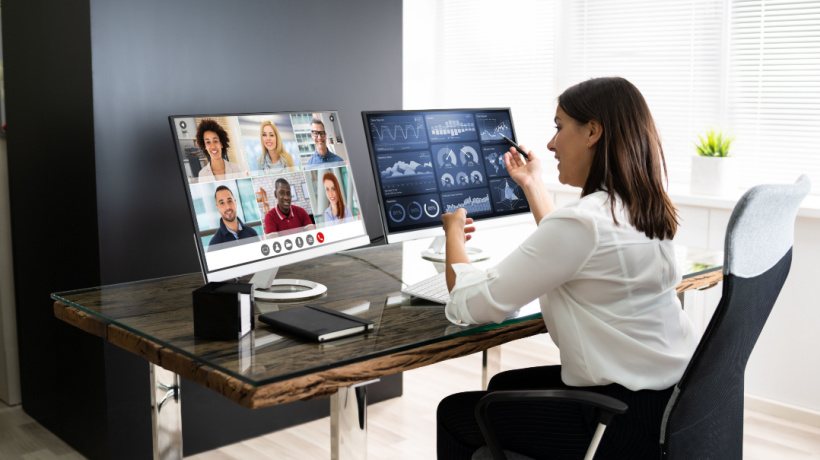
3. Webinars
A webinar is the only video done live and generally lasts between 30 minutes and 1 hour. Again, several formats can be used to meet different business needs:
Live Webcam
Simply use your computer’s webcam. The main advantage is that it costs practically nothing. However, video quality can often leave something to be desired.
Live, Multi-Camera
As described above, but with multiple camera. This set-up requires a live editing table and at least one cameraman. Again, you will need a high-quality Internet connection. Sound and image quality are excellent. The only drawback is that it is expensive.
Live Voice Over And Slides
As described above, but with multiple camera. With this set-up, there is no video, just your voice commenting slides. You can also use a graphics tablet, if needed. This format is not necessarily recommended because it is not very interactive and the main advantage of a webinar is to be able to see who is speaking.
If you want to learn more about the methodology and the production cost of online training videos, download the eBook Training In An Online World!